Table of Contents
- Table of Contents
This document builds on the glossary and shows how to set up specific workflows. If some of the terms feel unfamiliar to you, please check out the glossary here.
Microsoft Teams Integration
Setting up Microsoft Teams
-
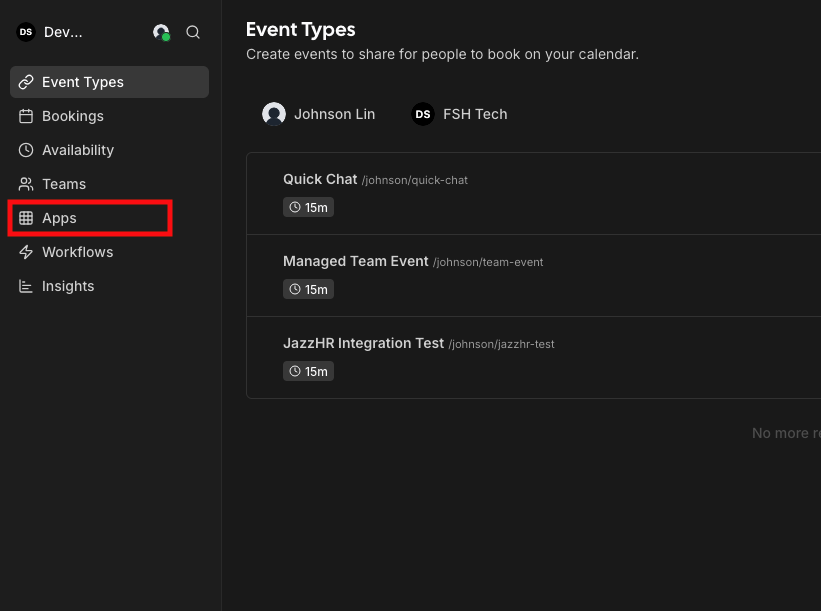
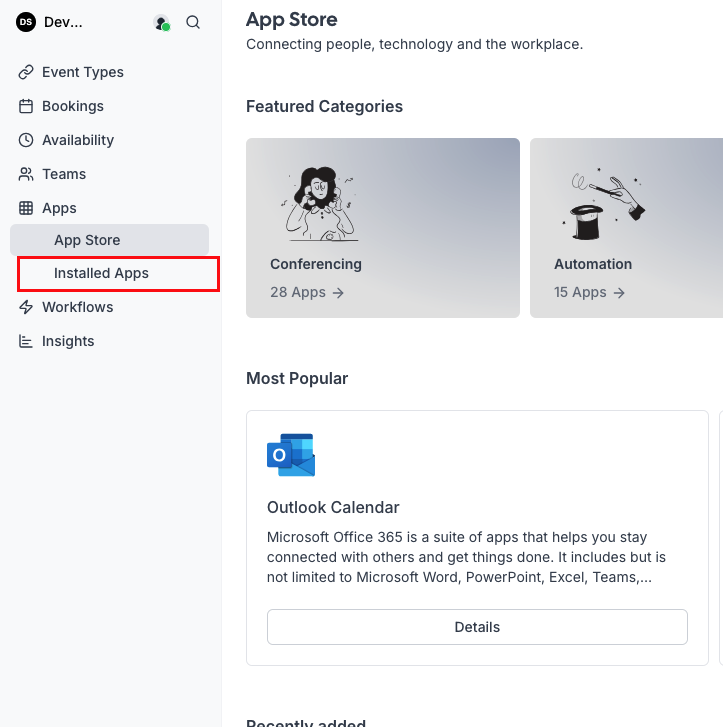
Click on the “Apps” tab on the left sidebar.
-
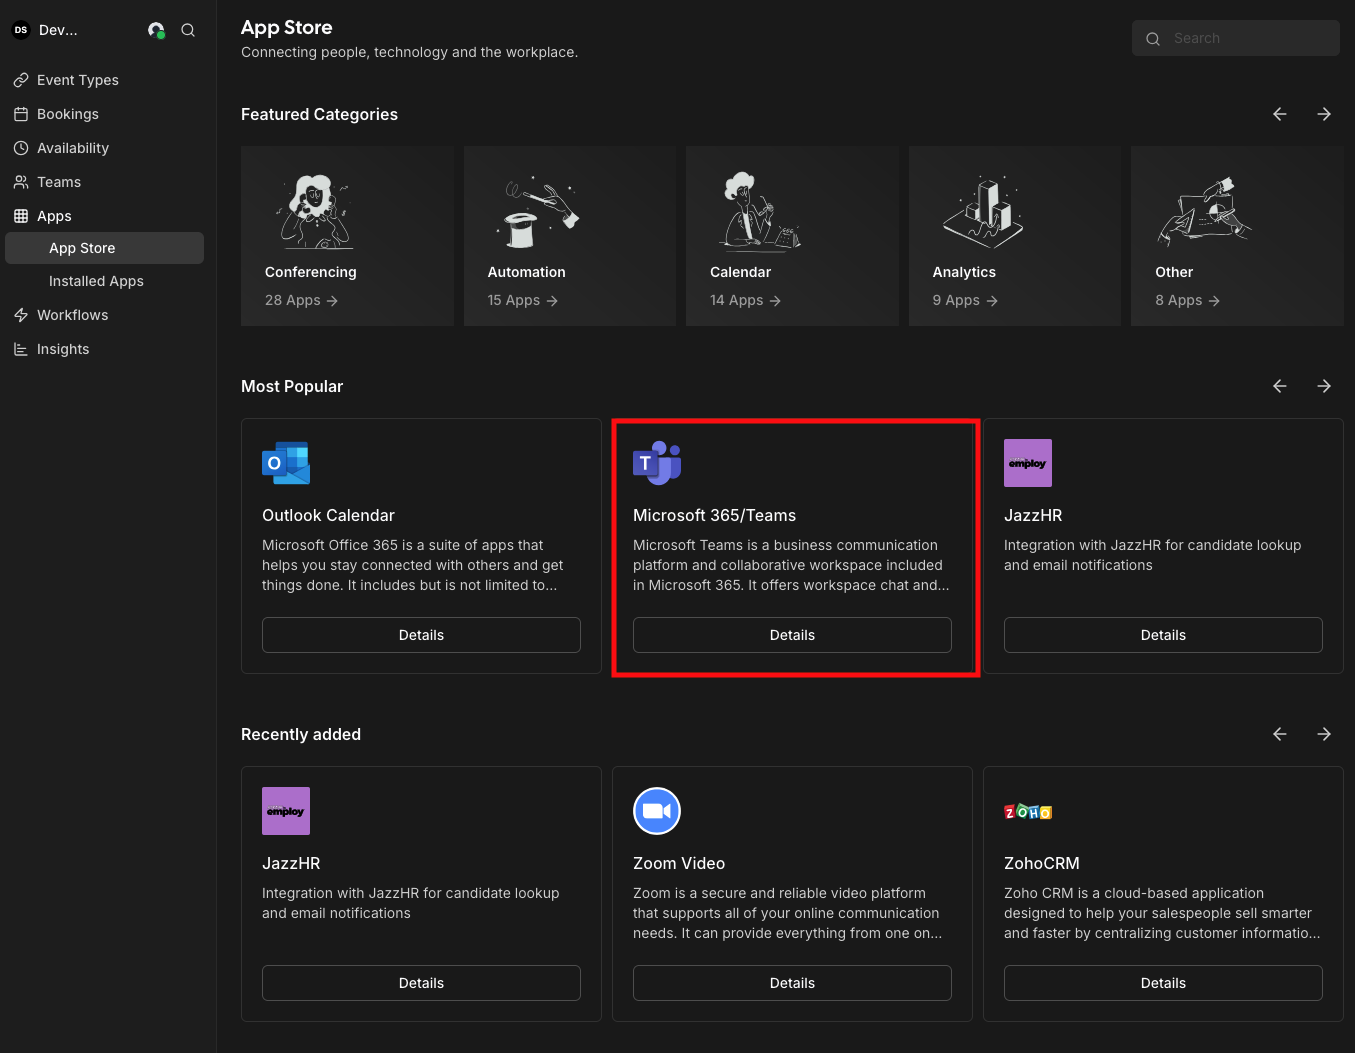
Find “Microsoft 365/Teams”. If it’s not displayed under Most Popular, scroll down until you see it. The apps are sorted alphabetically. Click on the “Details” button.
-
Click on “Install App” and follow the steps to connect your account.

-
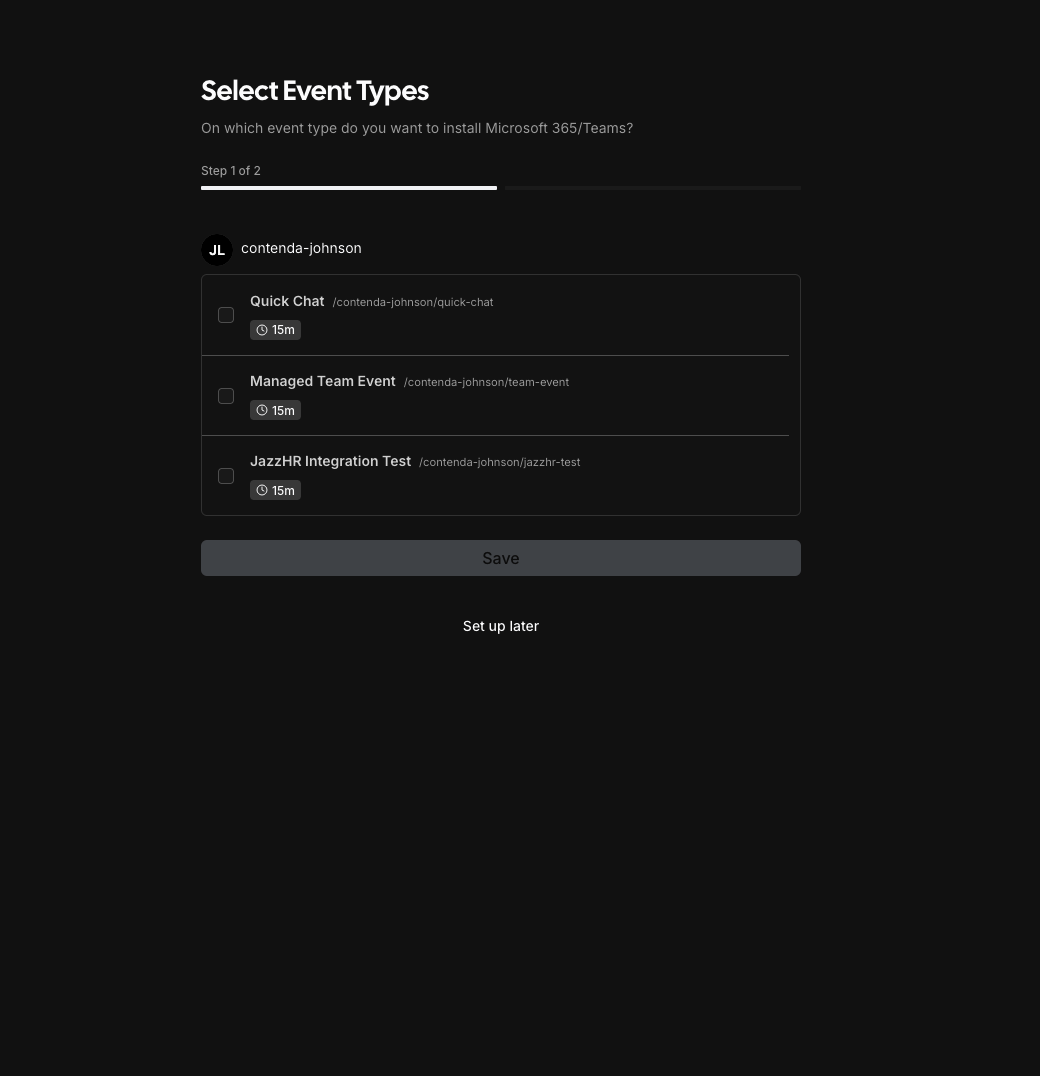
Choose the apps you want to set to be on Microsoft Teams. If you’re unsure at this time, click “Set up later.”
-
You’re all set! You’ve connected your Microsoft Teams account and can now use it as a location for an Event Type.
Setting Microsoft Teams as your default location
Requires you to have set up Microsoft Teams first
-
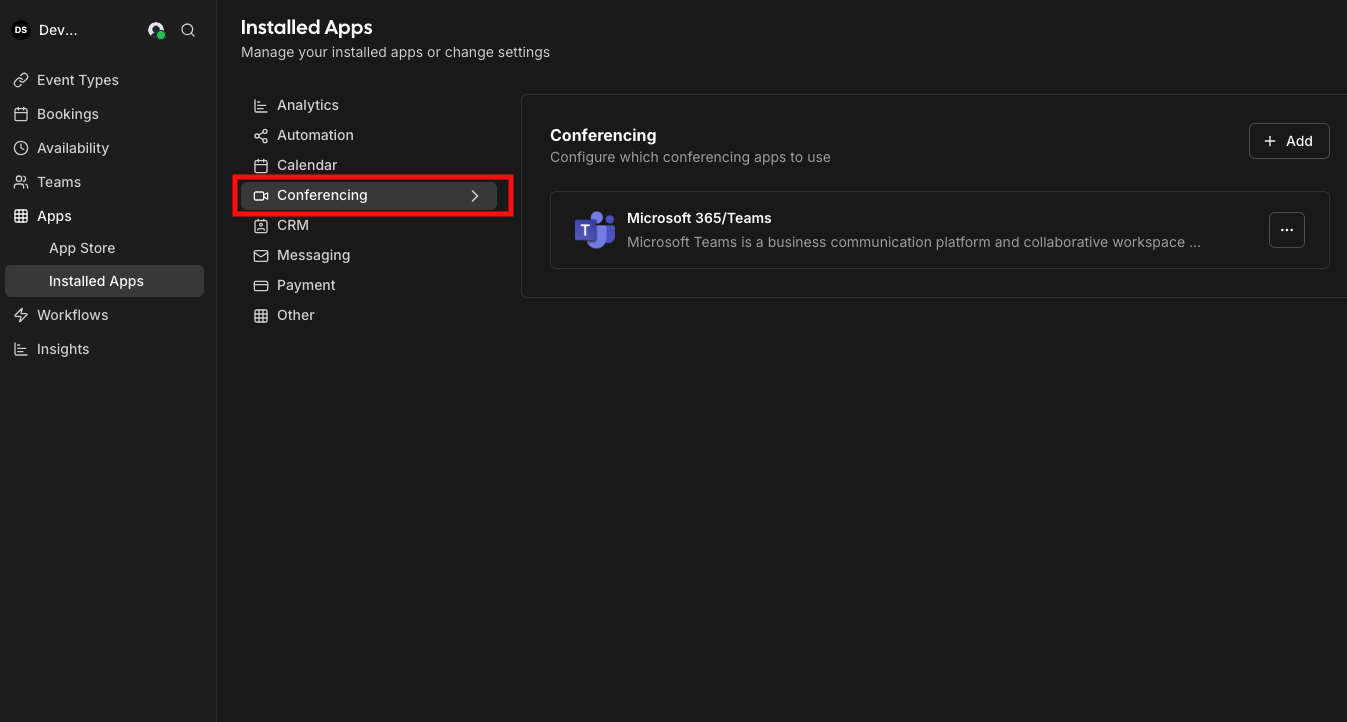
Click on the “Apps” tab on the left sidebar.
-
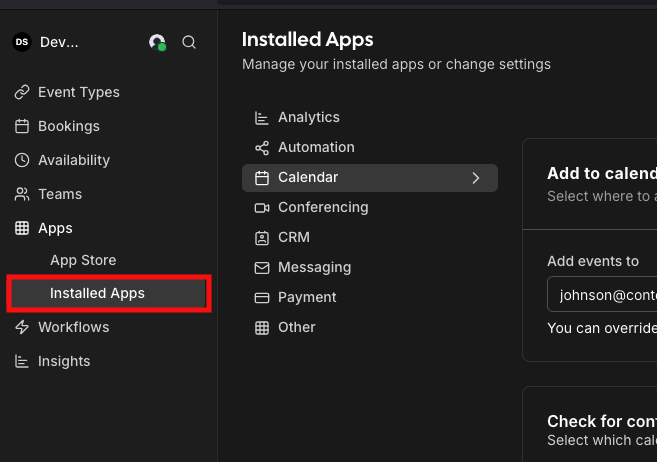
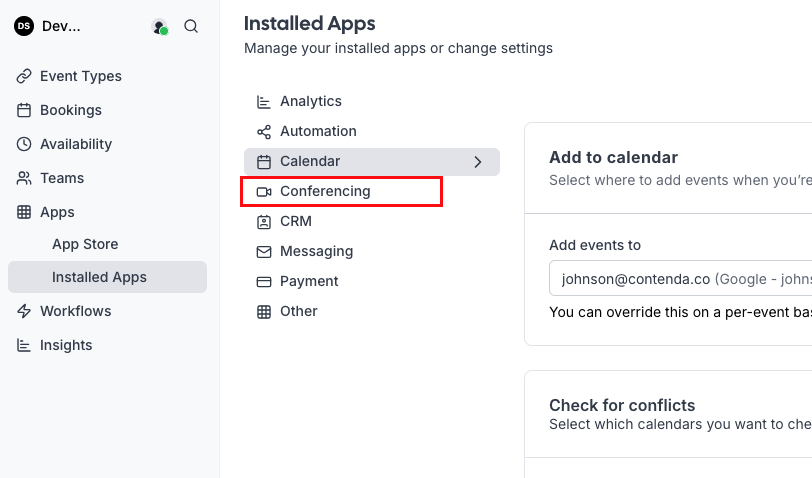
Click on “Installed Apps” on the left, under “Apps.”
-
Click on “Conferencing” apps.
-
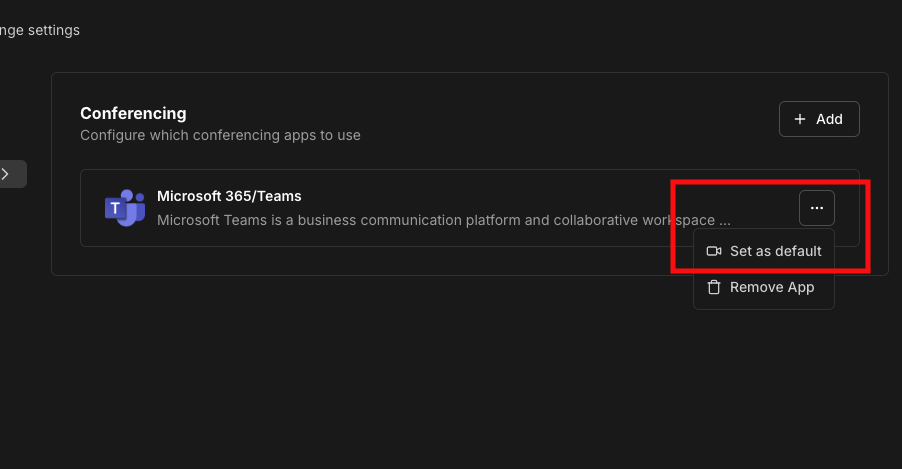
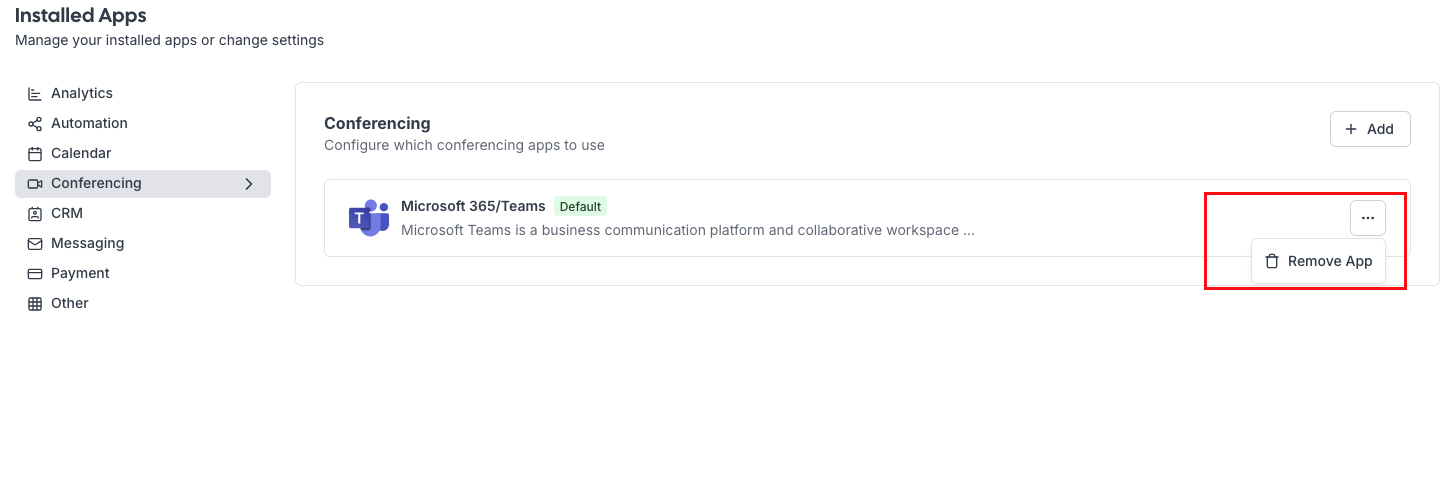
Click on the ”…” button and then click “Set as default”.
-
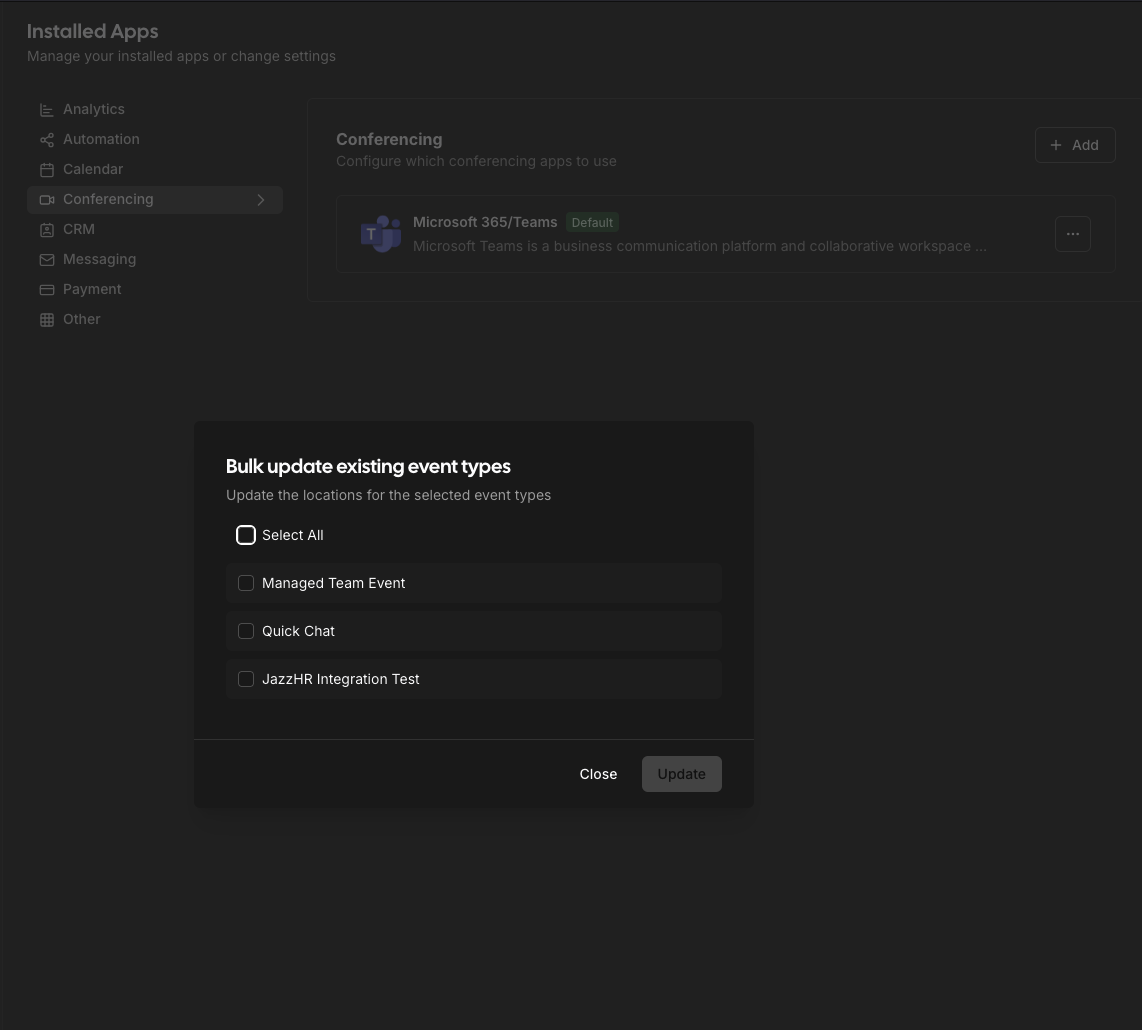
If you have event types you want to change the location of now, feel free to select them. Otherwise, click “Close”
-
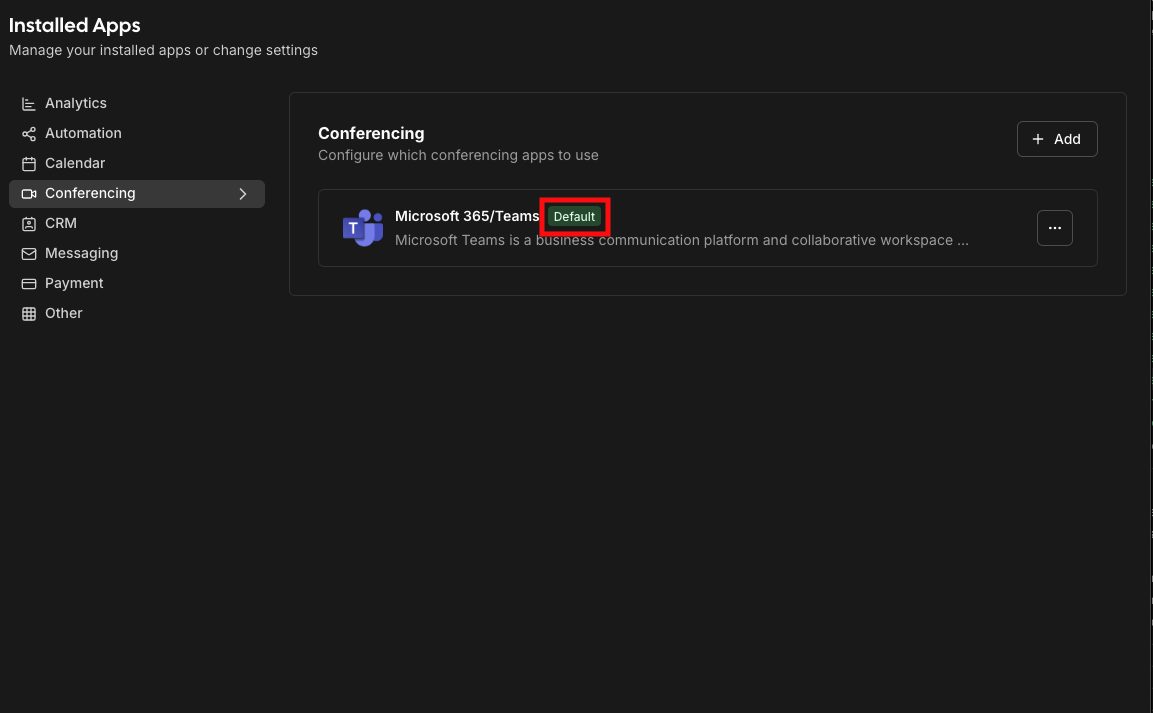
You should now see that your Microsoft Teams app has a badge that says “Default”.
-
You’re all set! Now by default, any event type that hasn’t specified a location will use your Microsoft Teams account.
Remove your Microsoft Teams Integration
You may need to remove and reinstall your Microsoft Teams integration if it’s been over 90 days since you last used your account. Microsoft enforces a 90 day maximum expiry for security reasons.
-
Click on the “Apps” tab on the left sidebar.
-
Click on the “Installed Apps” tab on the left sidebar under “Apps”
-
Click on the “Conferencing” tab on the left side.
-
Click on the ”…” button and then click “Remove app”.
Collective Event Type Setup
-
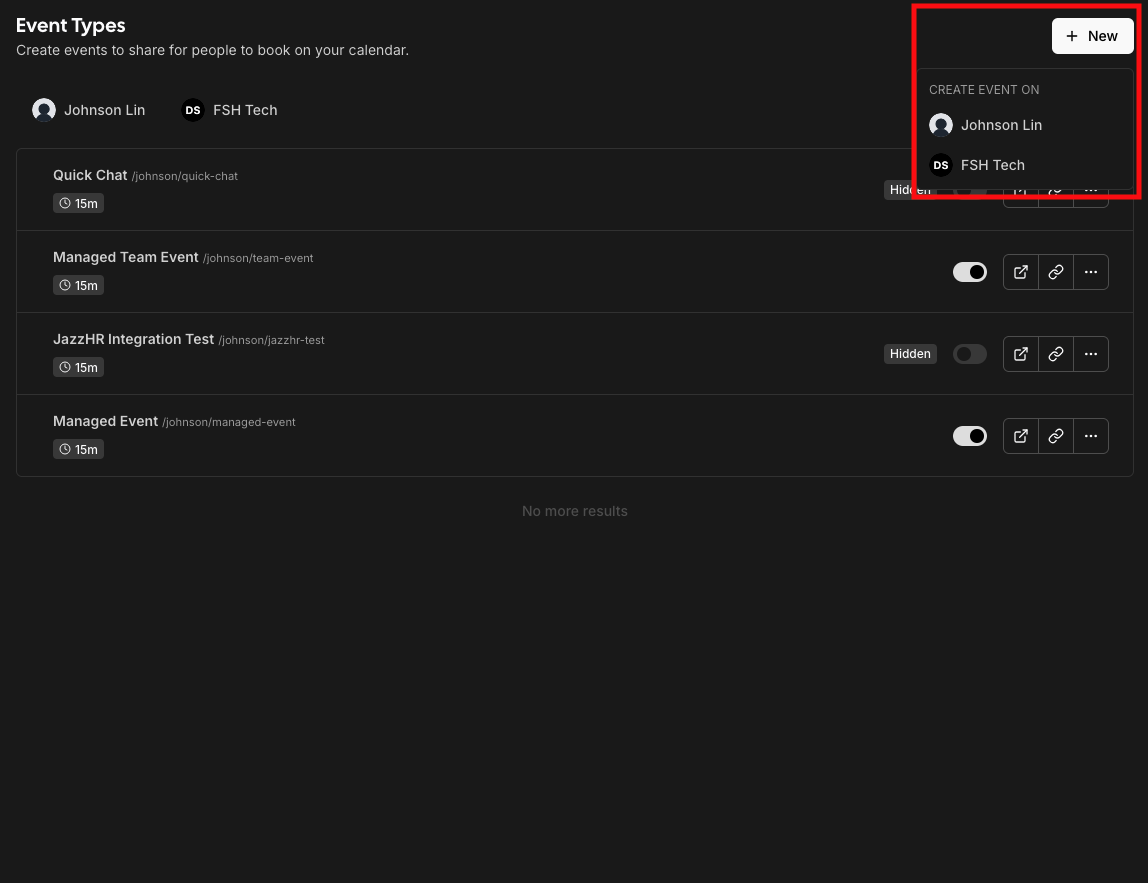
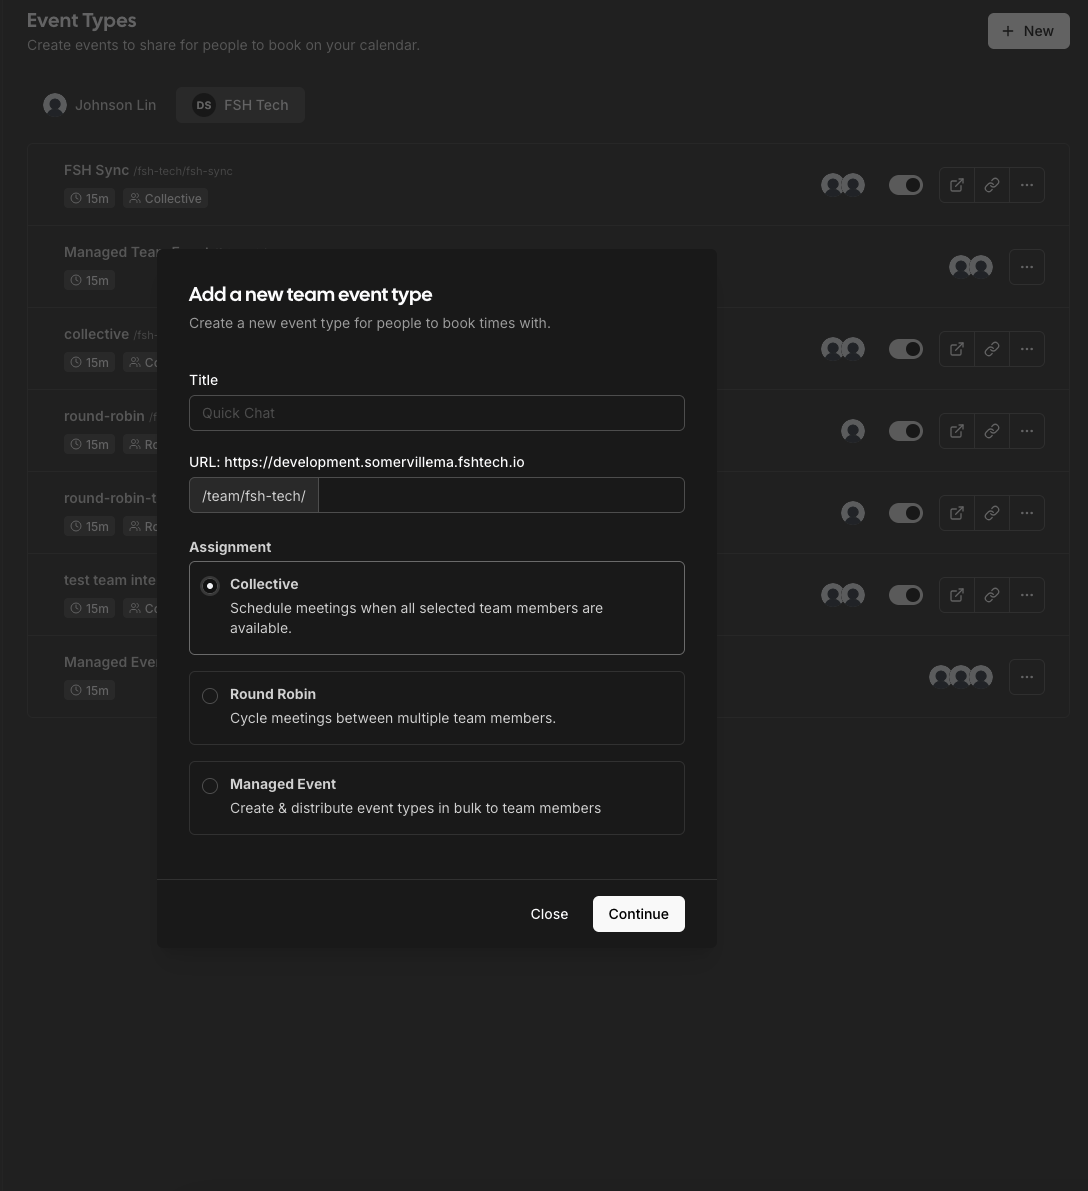
Click on the ”+ New” button in the Event Types page (home page) and then click on the team you want to create a Collective Event Type for.
-
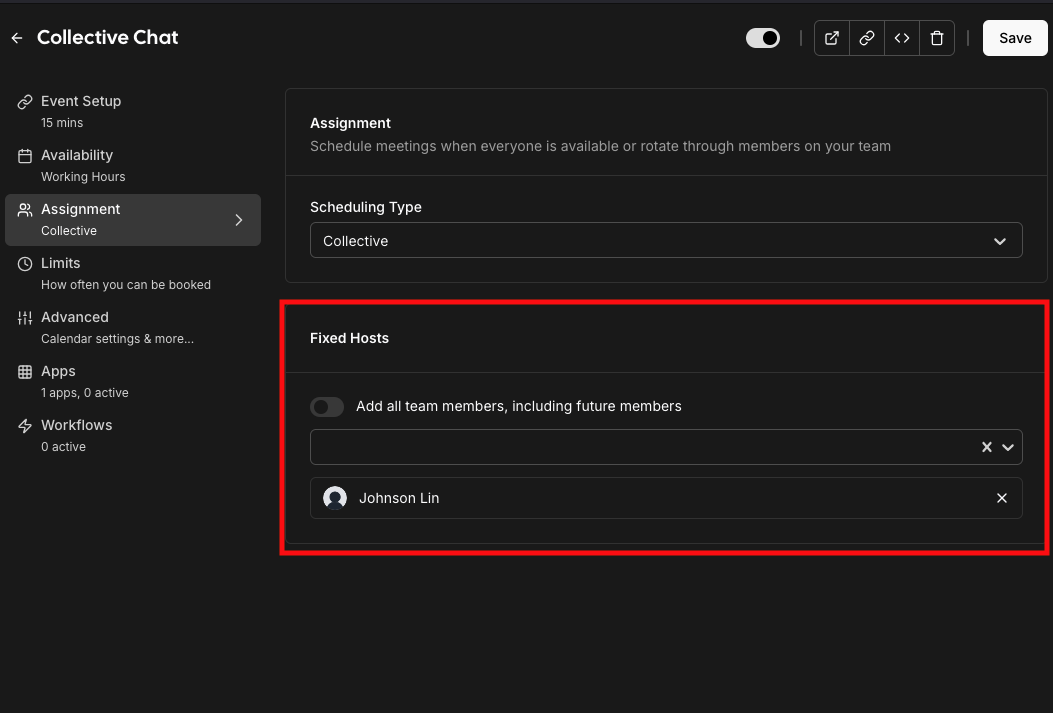
Fill out the name of the event type, and then you’ll be taken to the edit page to select the hosts. This is where you can choose who will be the hosts of this meeting. Note that the first member selected is designated as the “Primary Organizer.” This will be important in Step 4.
-
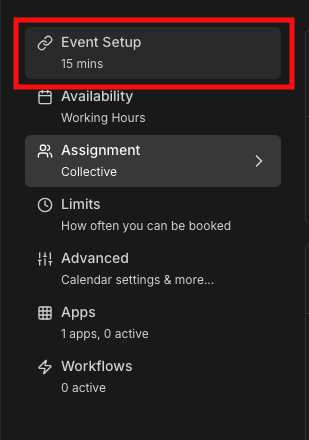
Then, click to “Event Setup” in order to configure the location.
-
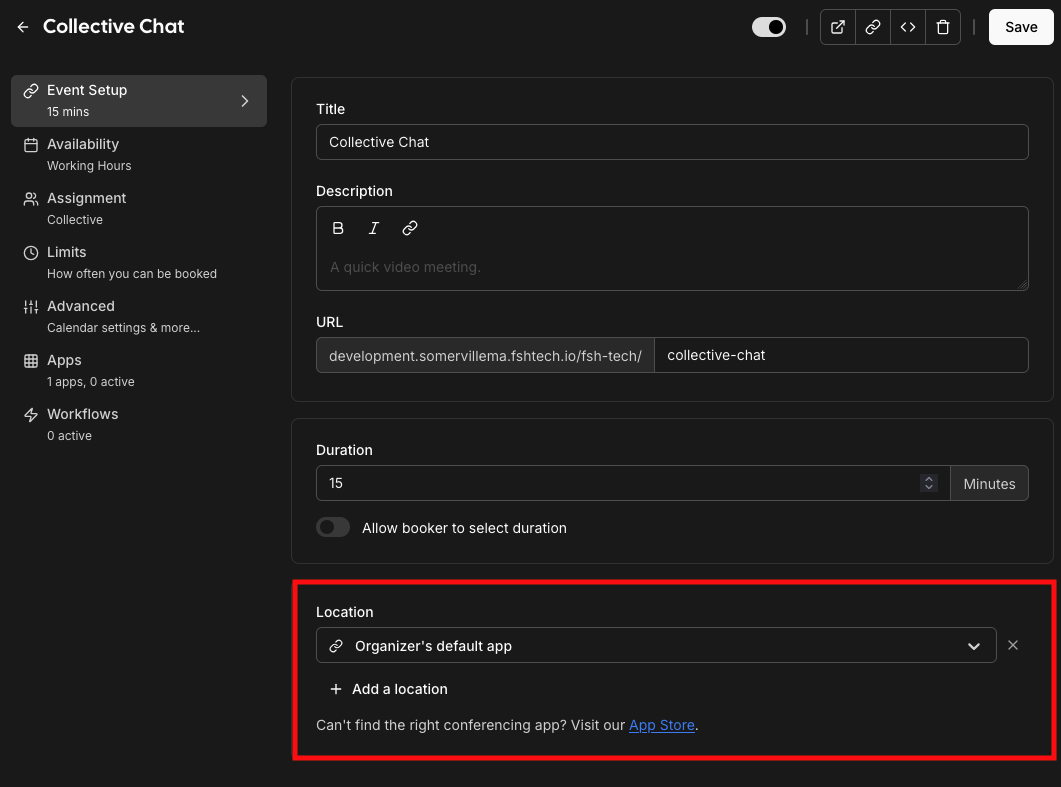
For location, select “Organizer’s default app” under the “Conferencing” section. This is where you should make sure all of your team members have set Microsoft Teams as their default location. The event will create the location for the “Primary Organizer” who is the first name listed in Step 2.
-
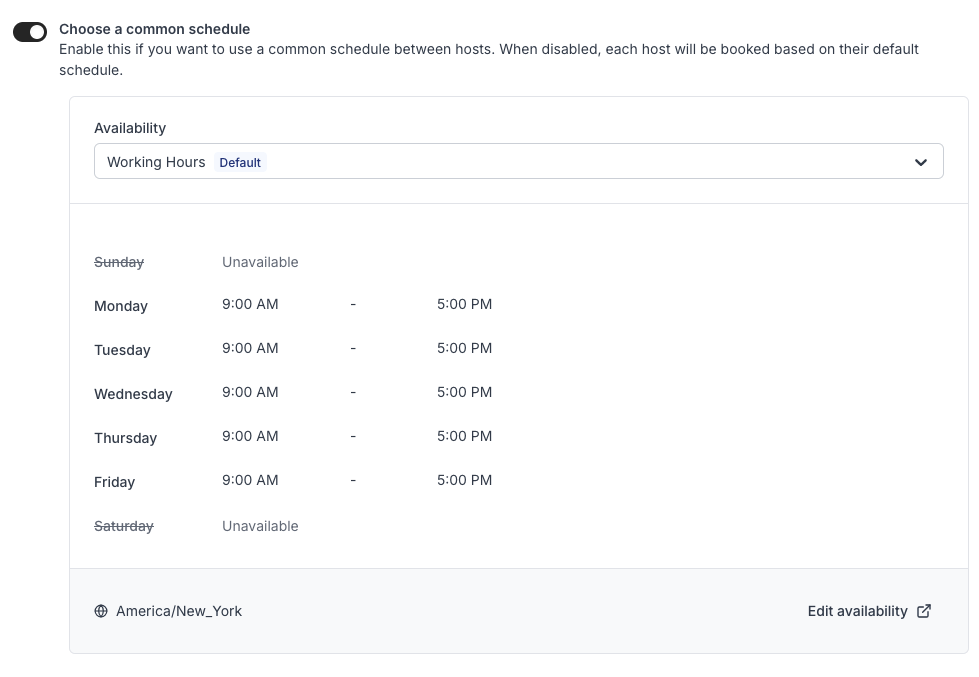
Additionally, you can customize the availability. By default, candidates can book any open times based on all hosts’ default schedule. You can instead specify a common schedule to limit the scope of the open times (e.g. create an Availability so that this interview will only happen on Tuesday afternoon). The event will still only display times that are open on everyone’s calendar.

-
You’re all set. You can further customize these like individual event types such as changing the booking questions or requiring confirmation. For more detail, check out the glossary here. Otherwise, you can copy these links and send them to candidates!
Managed Event Type Setup
Managed Event Types are team events that makes the same event type for each team member assigned. This can be useful when you want to manage an event type in a single place, but have multiple links for each member so they can be scheduled individually on their own calendar.
-
Click on the ”+ New” button in the Event Types page (home page) and then click on the team you want to create a Managed Event Type for.
-
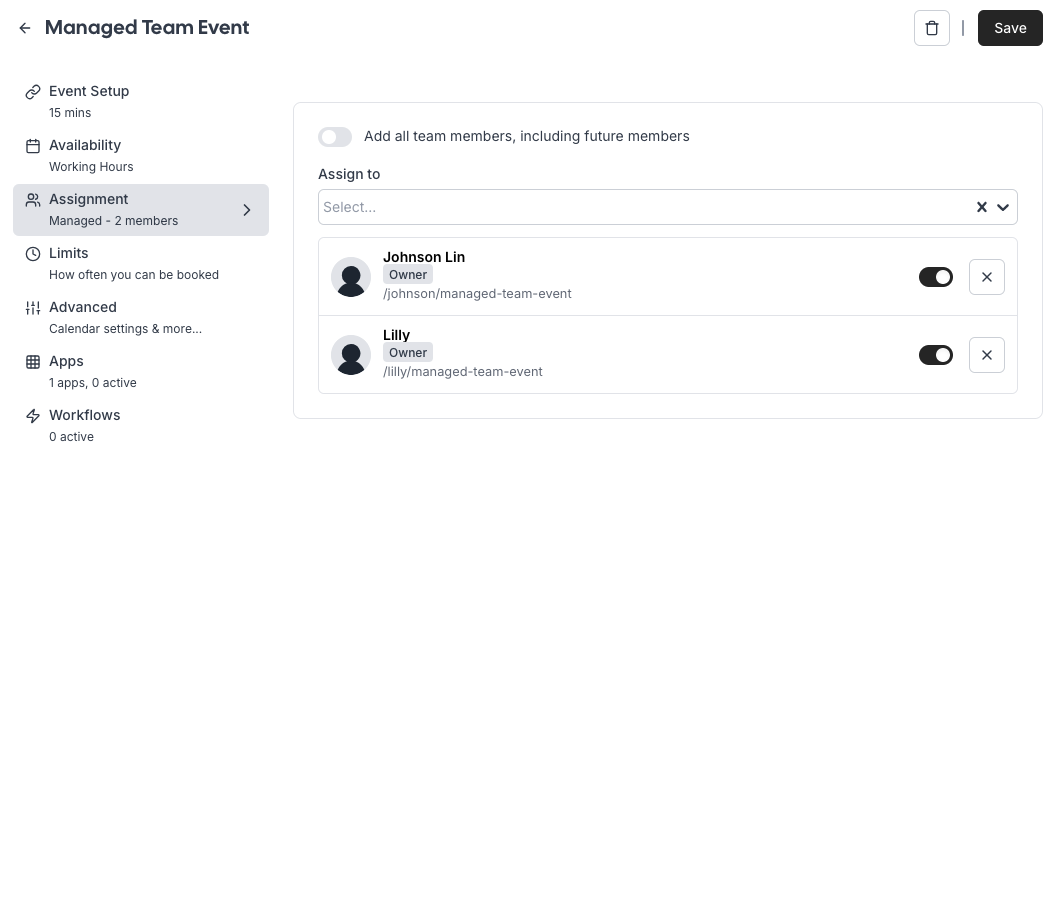
Fill out the name of the event type, and then you’ll be taken to the edit page to select the hosts. This is where you can choose who will have this event on their account.
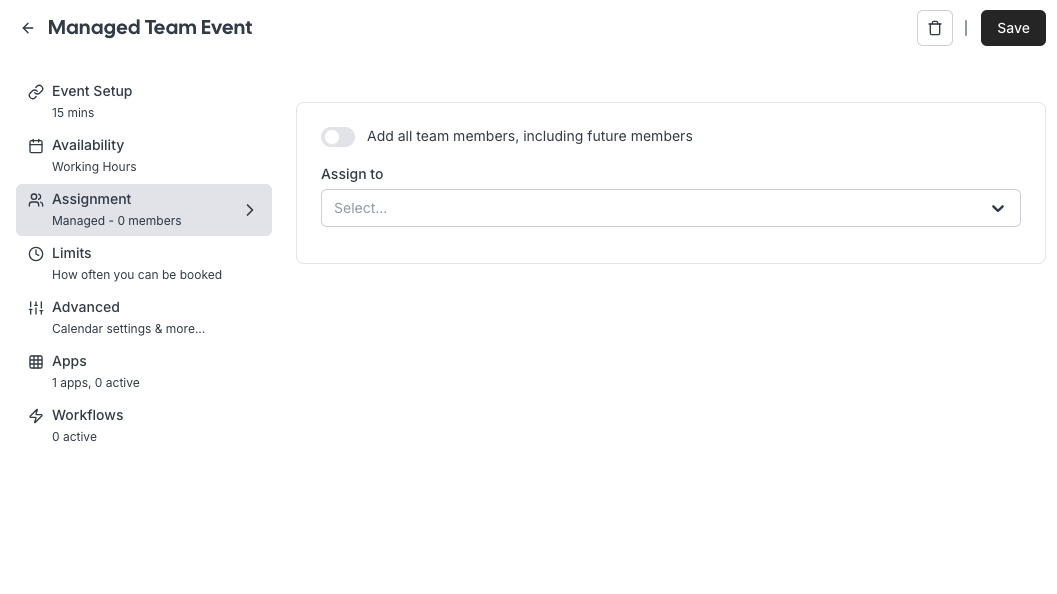
-
You will now see the usernames and links that will be created with this managed event type.
-
Go through the other tabs on the side and fill out the rest of the event type details. For more detail, check out the glossary here.
-
Now, when you go back to your event type page, if you’ve assigned yourself as a host, you’ll see the managed event type on your personal calendar. This link will be for you individually.
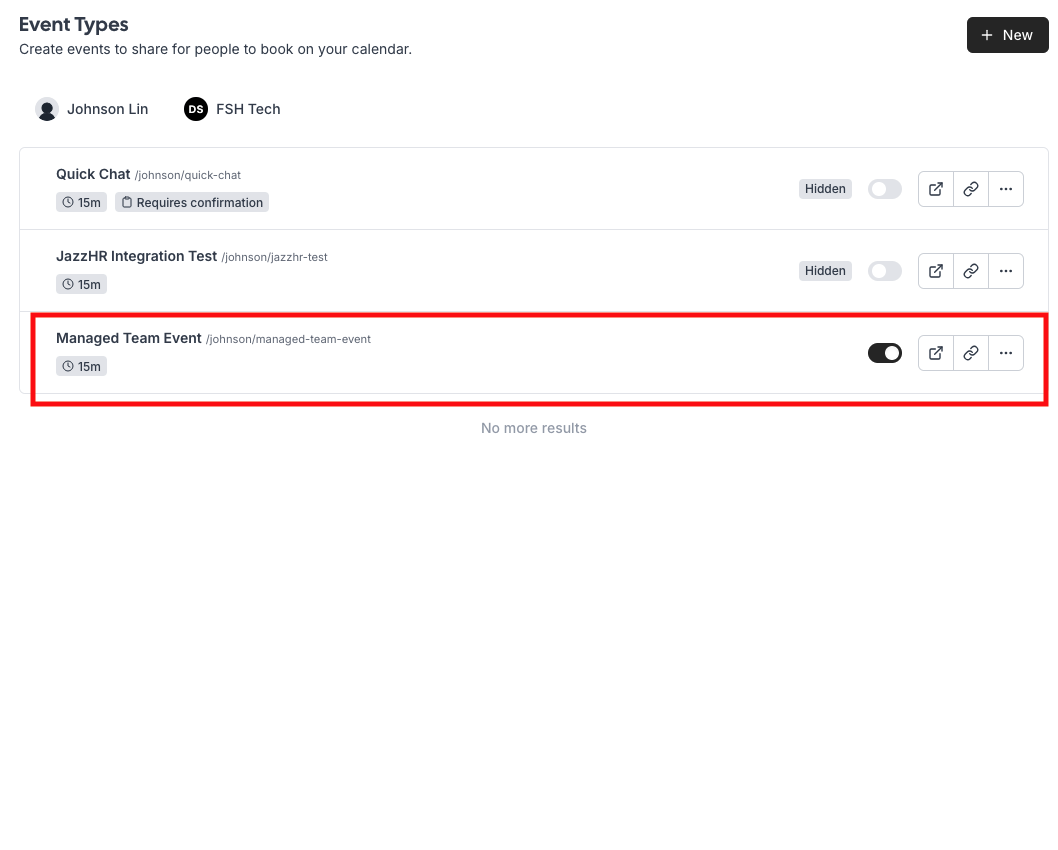
-
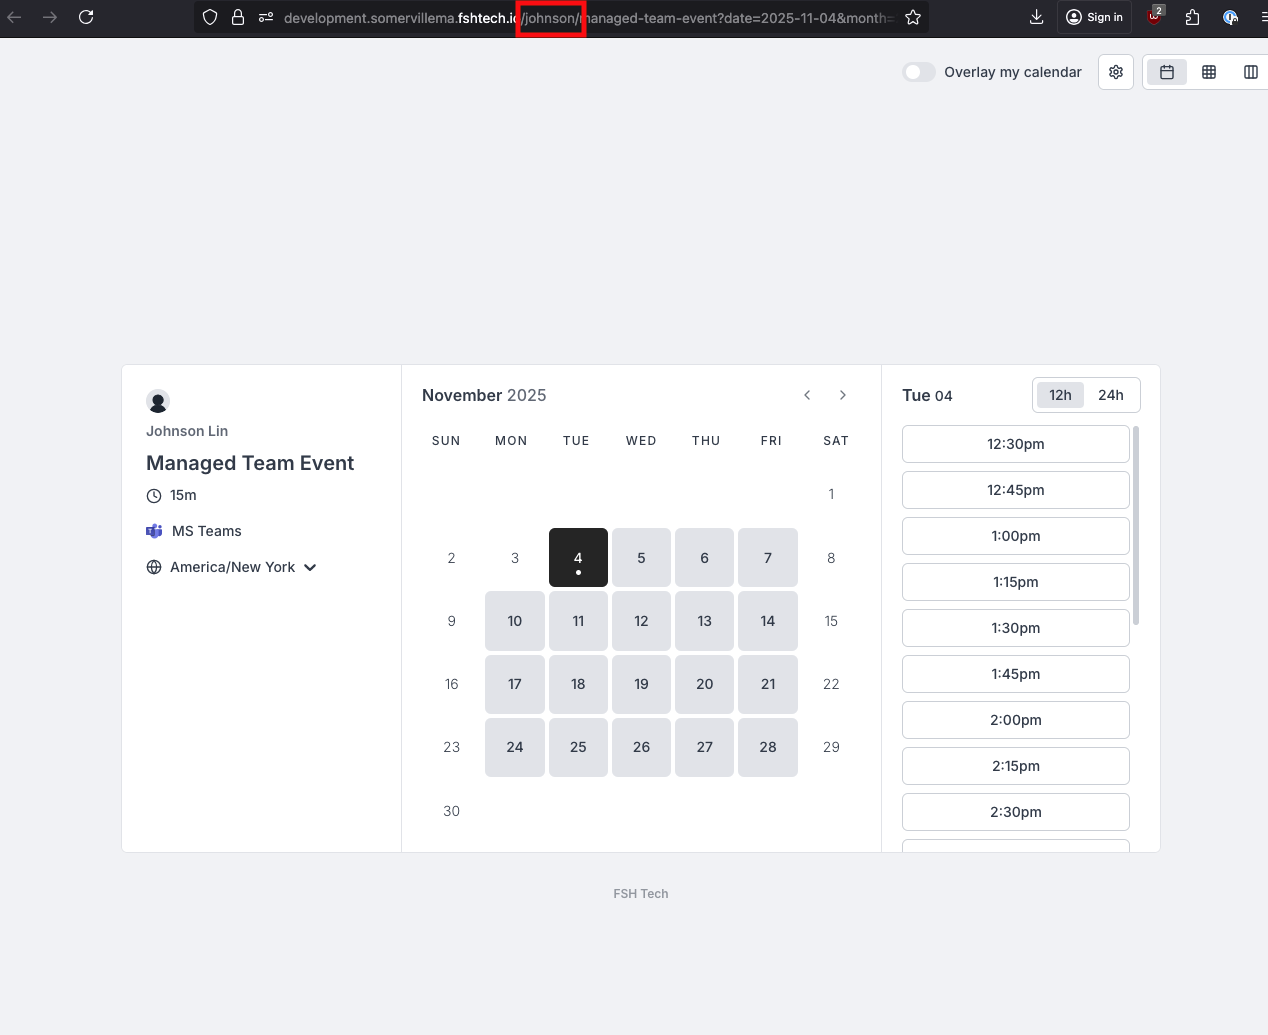
Your team members will have their own event type link that is the exact same, but with their username instead of yours!
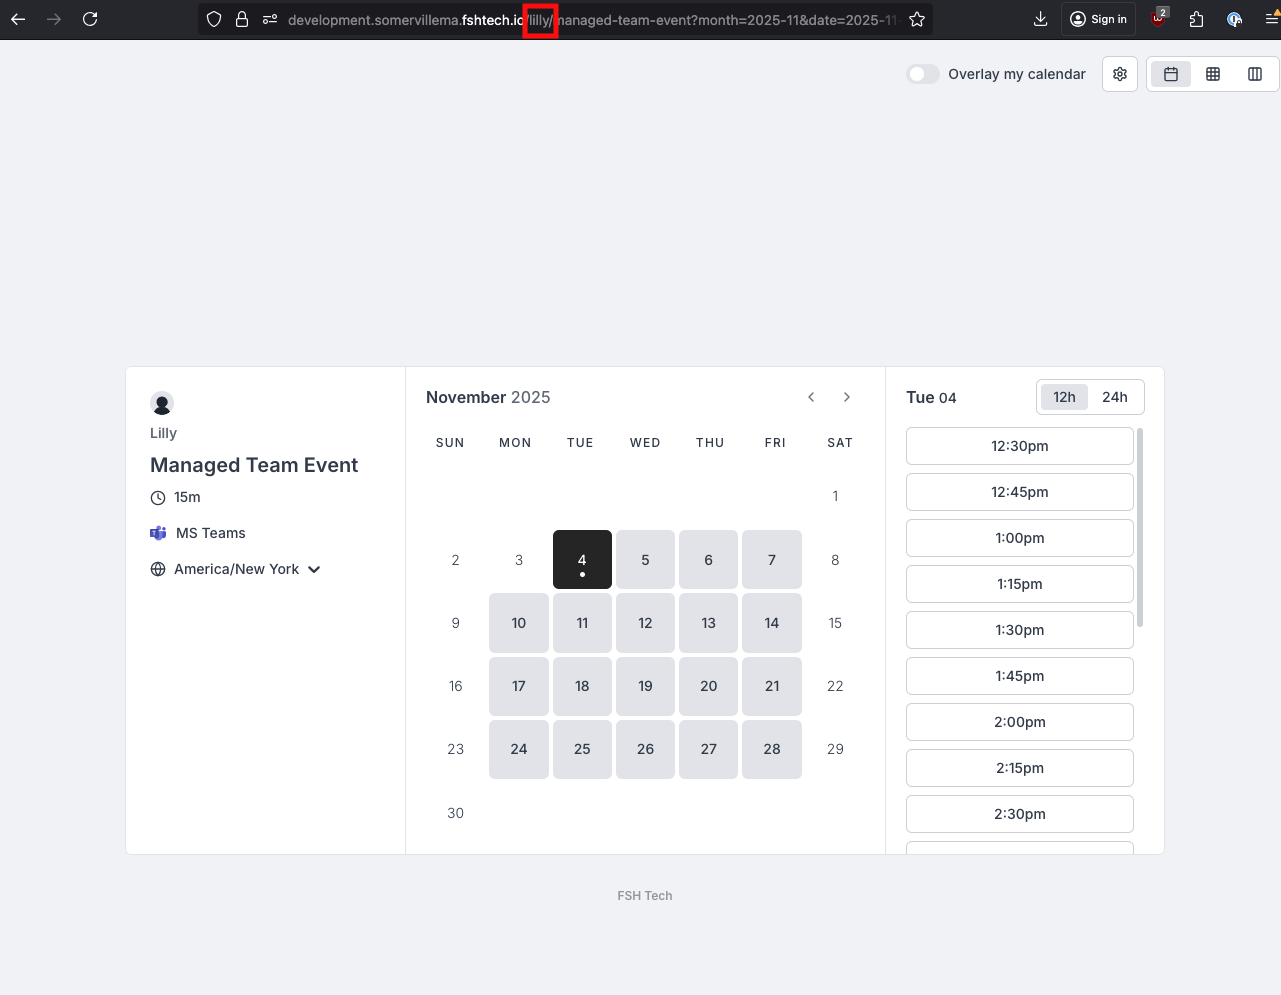
Panel Interview Event Type Setup
Panel Interview is a custom event type made for Somerville. You specify the exact dates and times that interviewees can select from the calendar, instead of the usual Availability workflow where the app finds the free slots you have on your calendar. Panel Interview event types have the same scheduling as Collective event types, which means all hosts are on the calendar event.
-
Click on the ”+ New” button in the Event Types page (home page) and then click on your team.
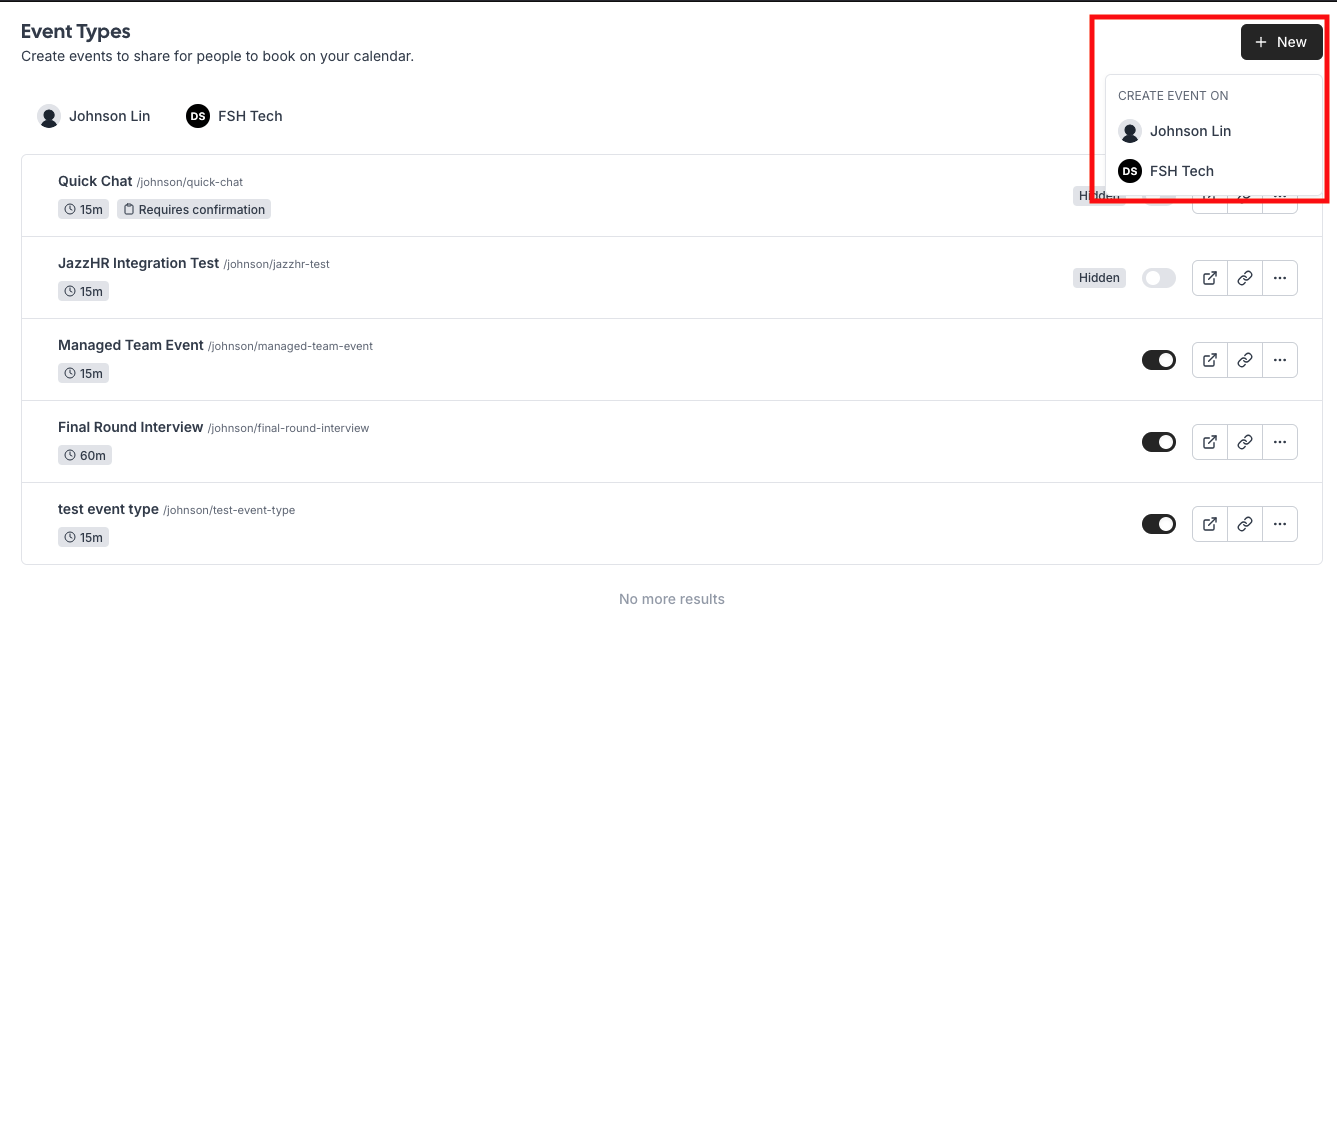
-
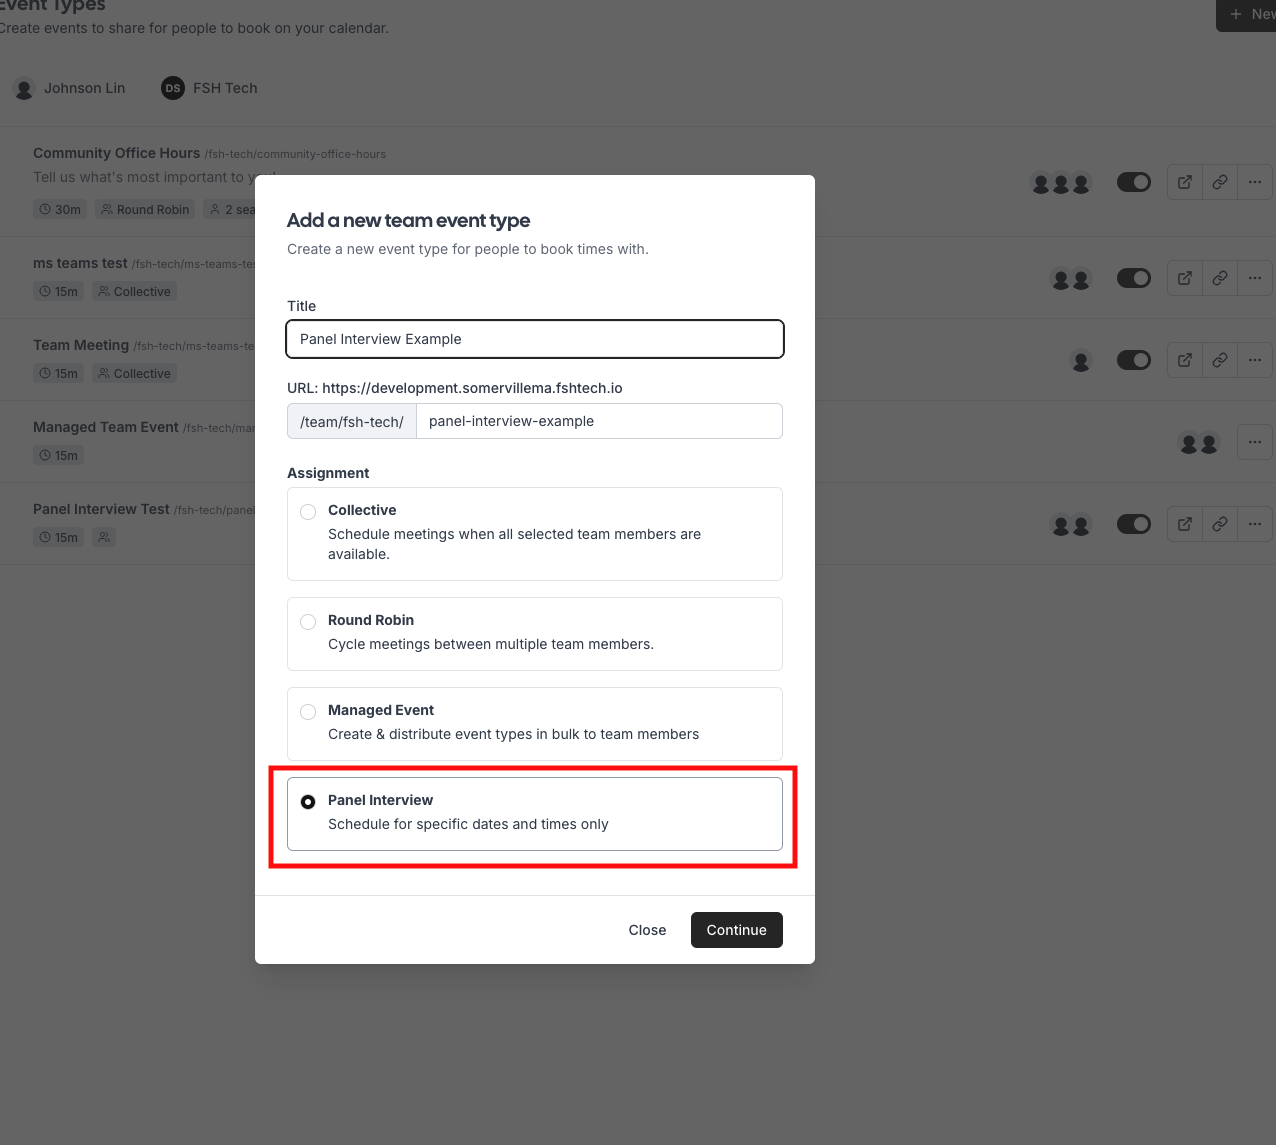
Name your event and select the “Panel Interview” option. Then, create the event.
-
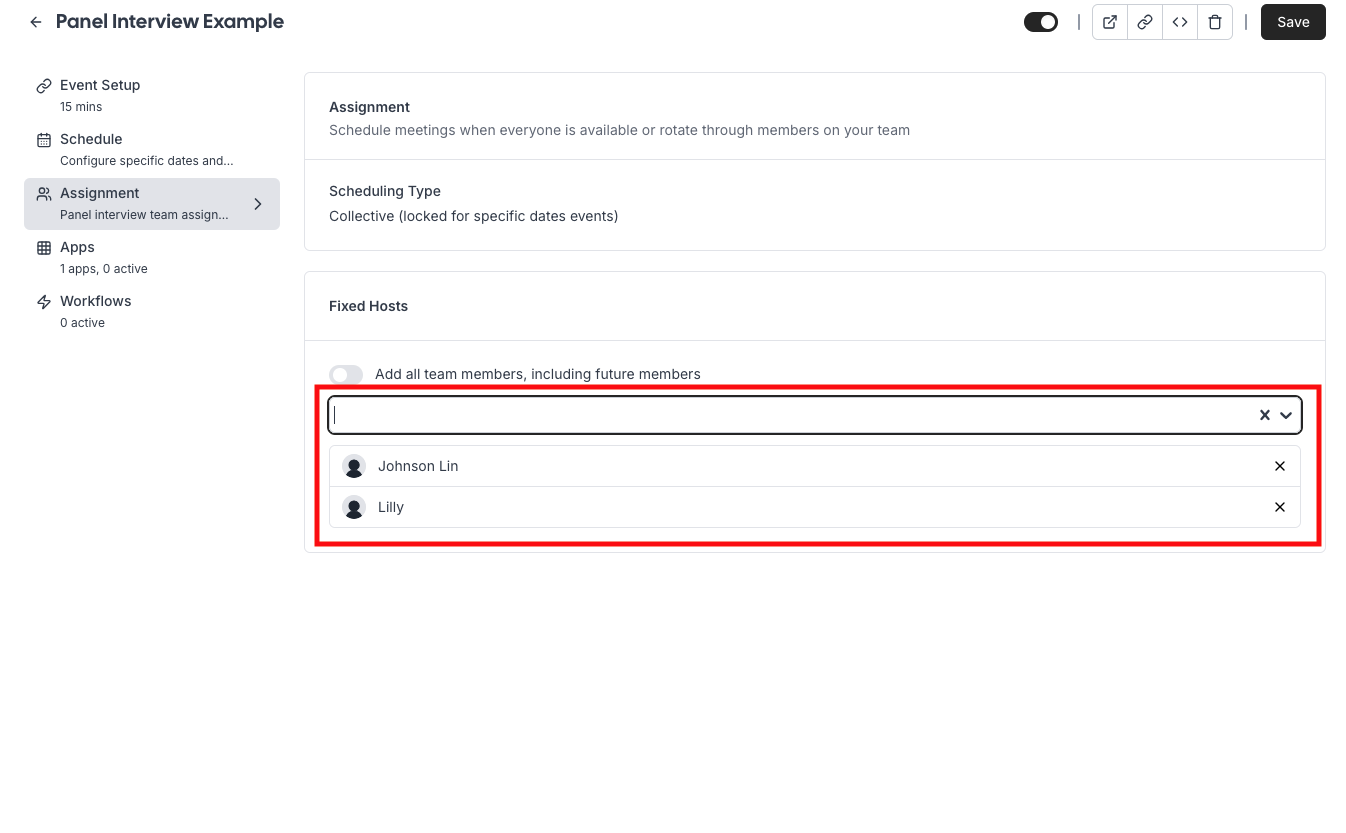
You’ll be taken to “Assignment” automatically. Select the hosts that you want on the event type.
-
Click on the “Schedule” tab. This is where you will add the exact dates and times you want available for this event type.
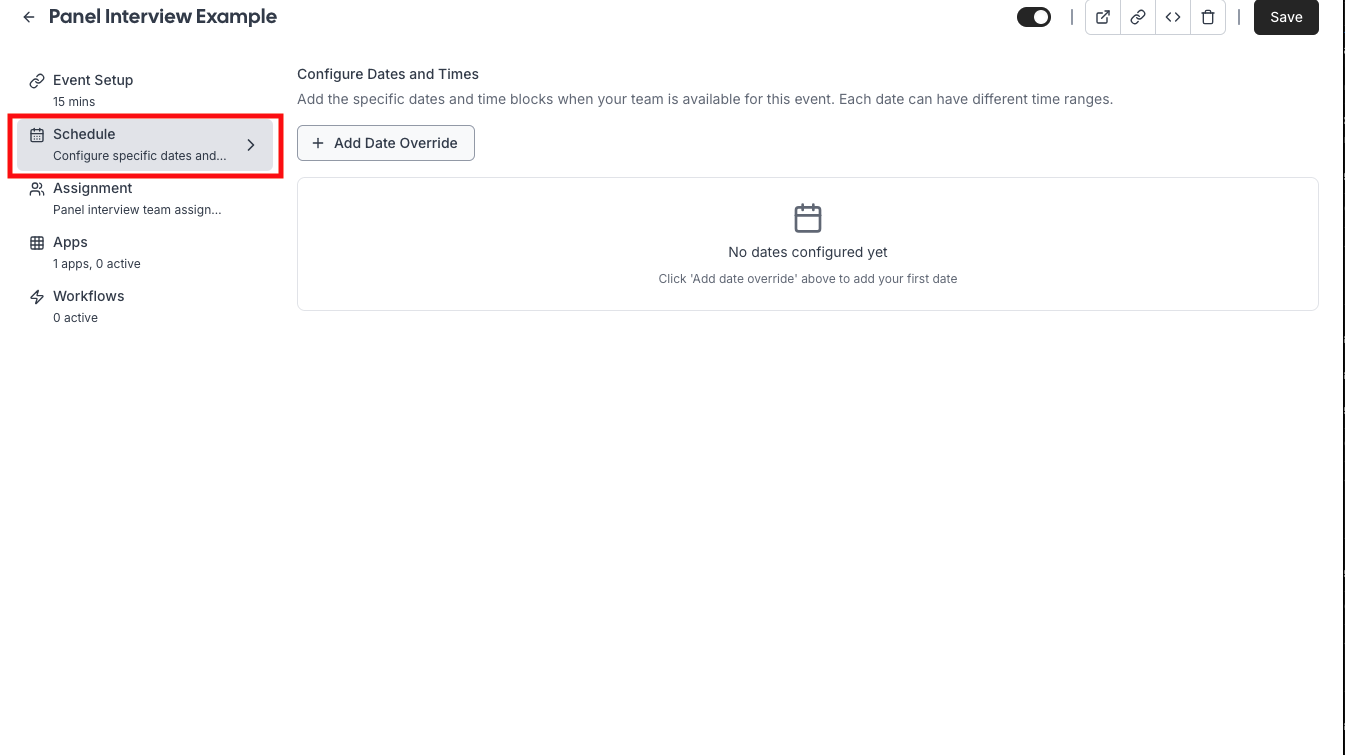
-
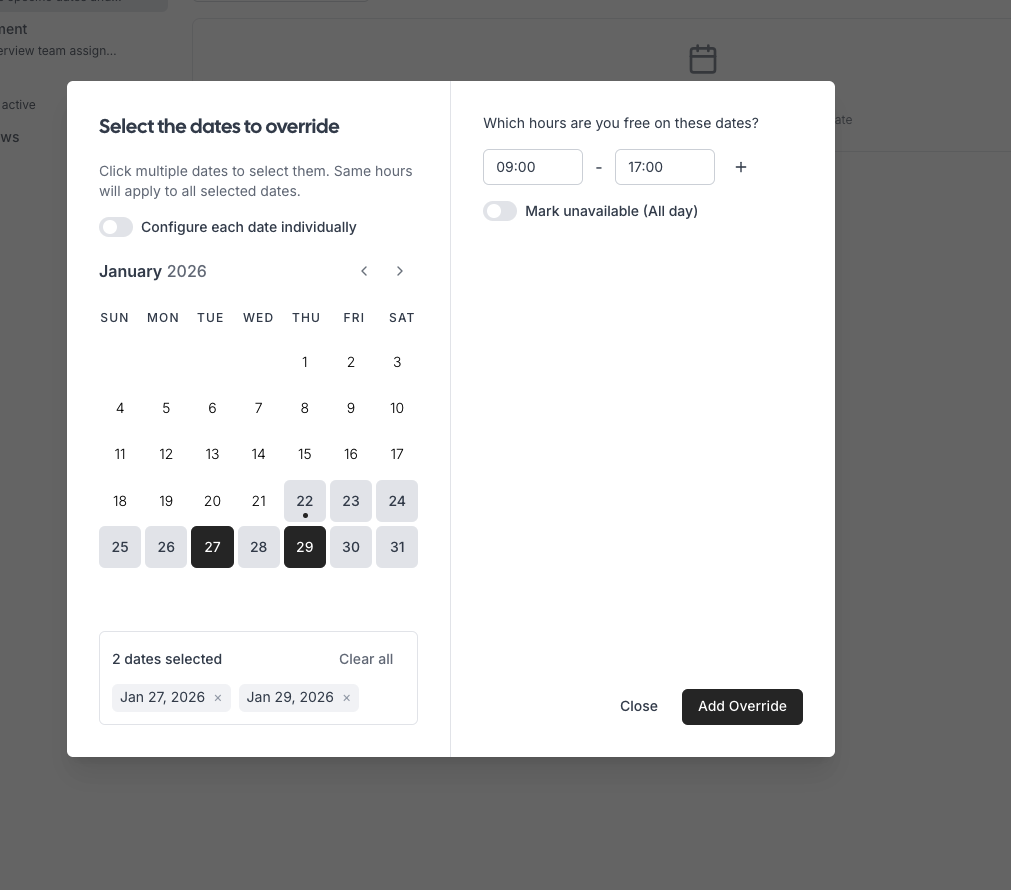
Select the dates you want to add to this event type. You can pick a time that will apply for all dates.
-
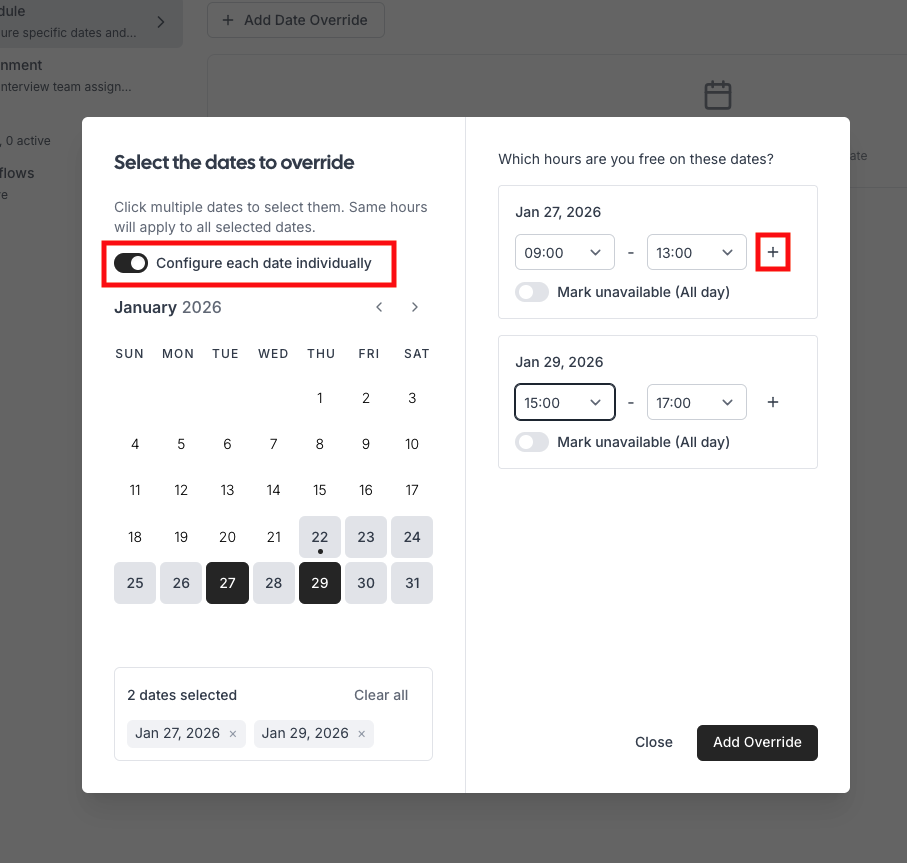
If you have different times you want to mark for the dates, toggle the “Configure each date individually” button. If you want to have a range (e.g. 9am-11am, 3pm-5pm), click the ”+” button.
-
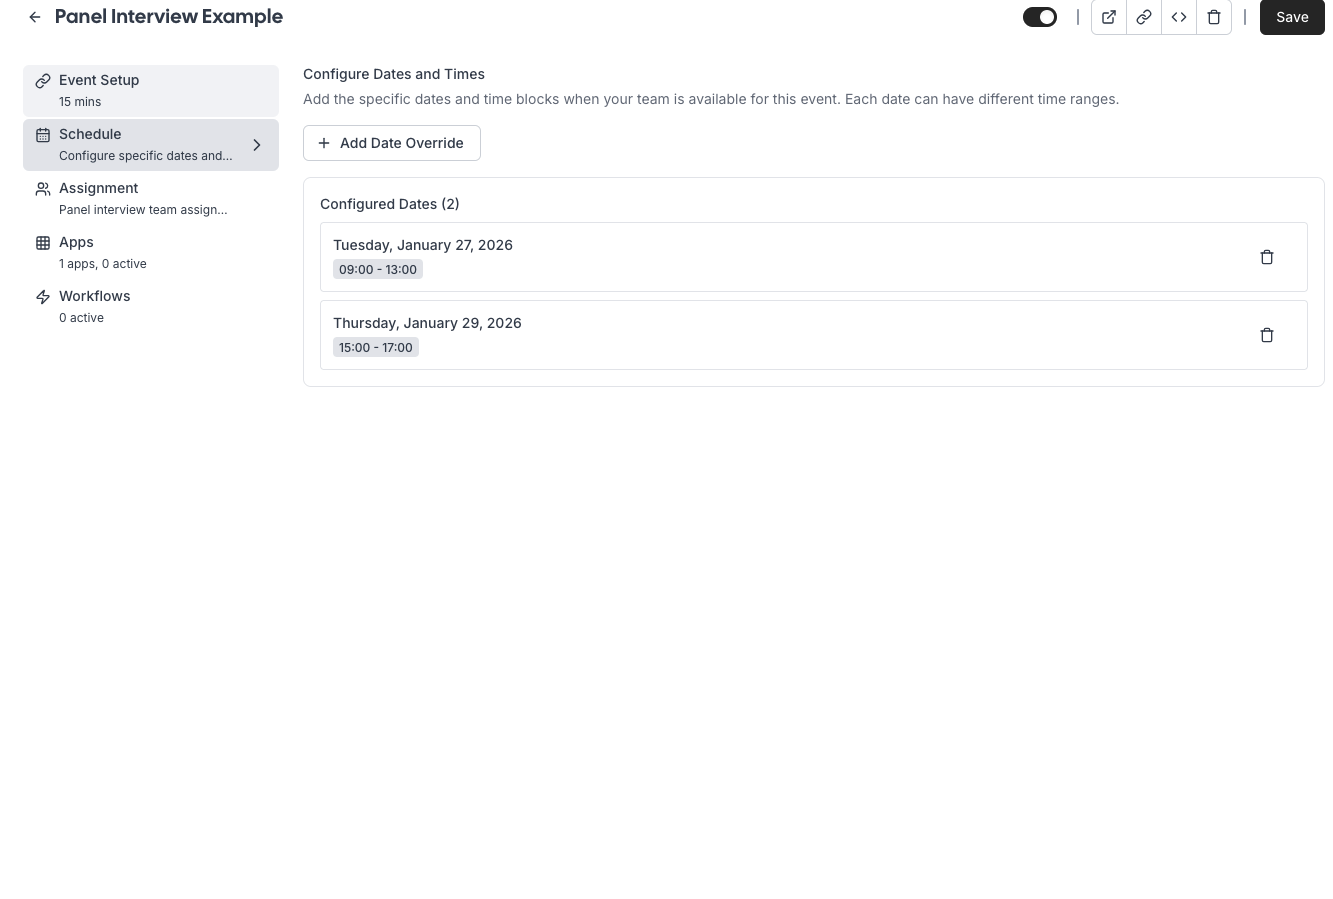
You should now see the dates and times you added.
-
Finally, make sure to finish up the “Event Setup” tab. Change the duration and location as needed and then click “Save”.
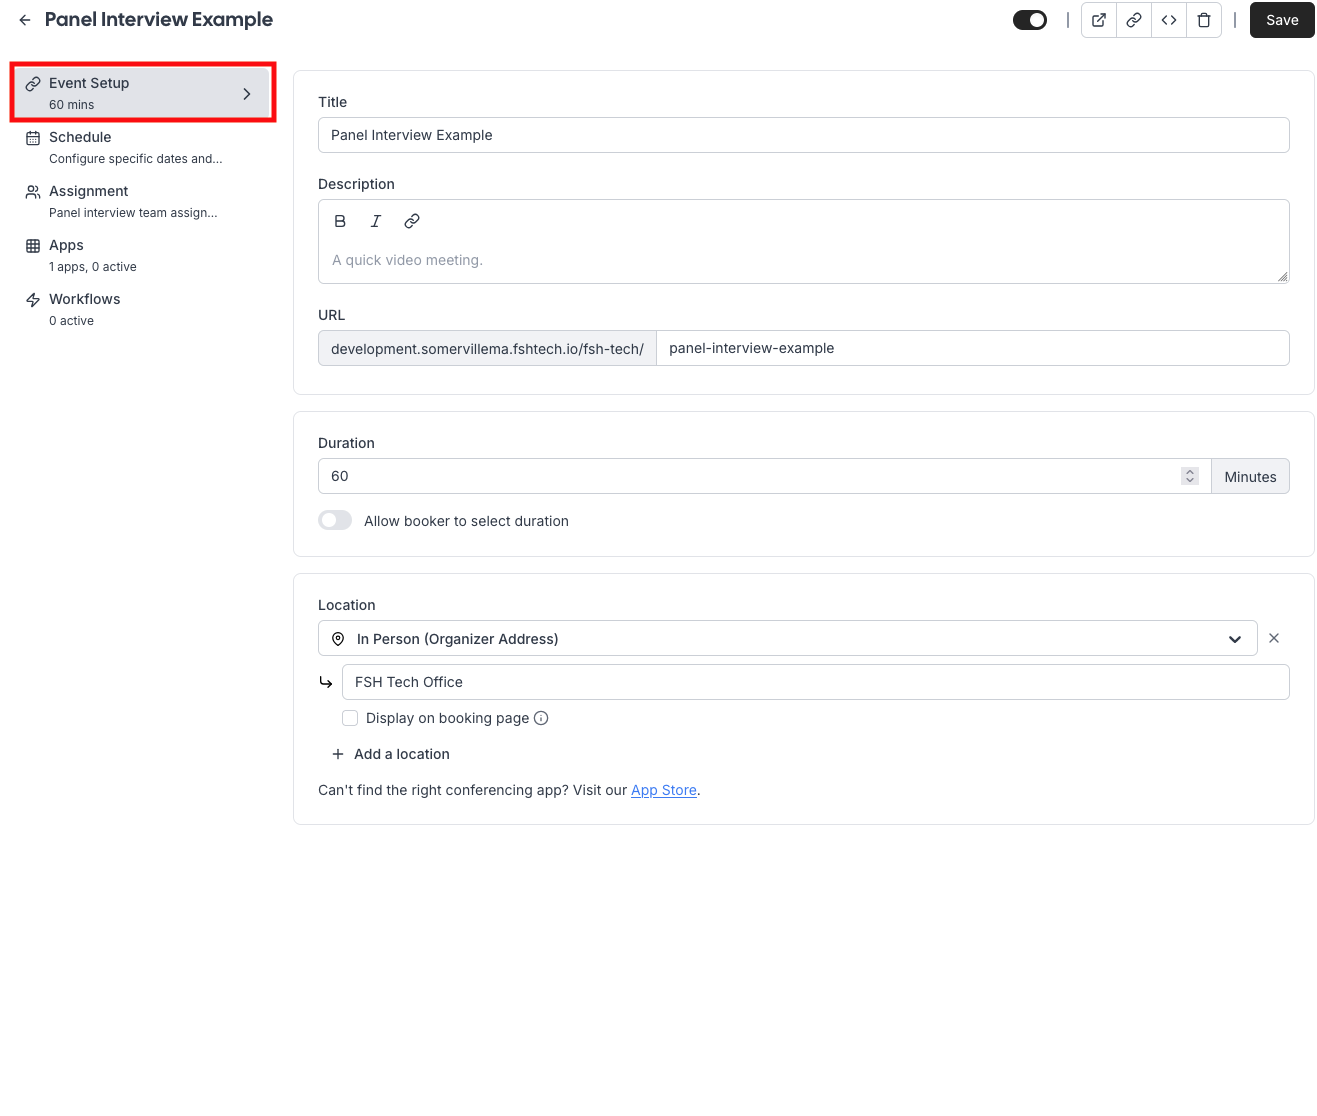
-
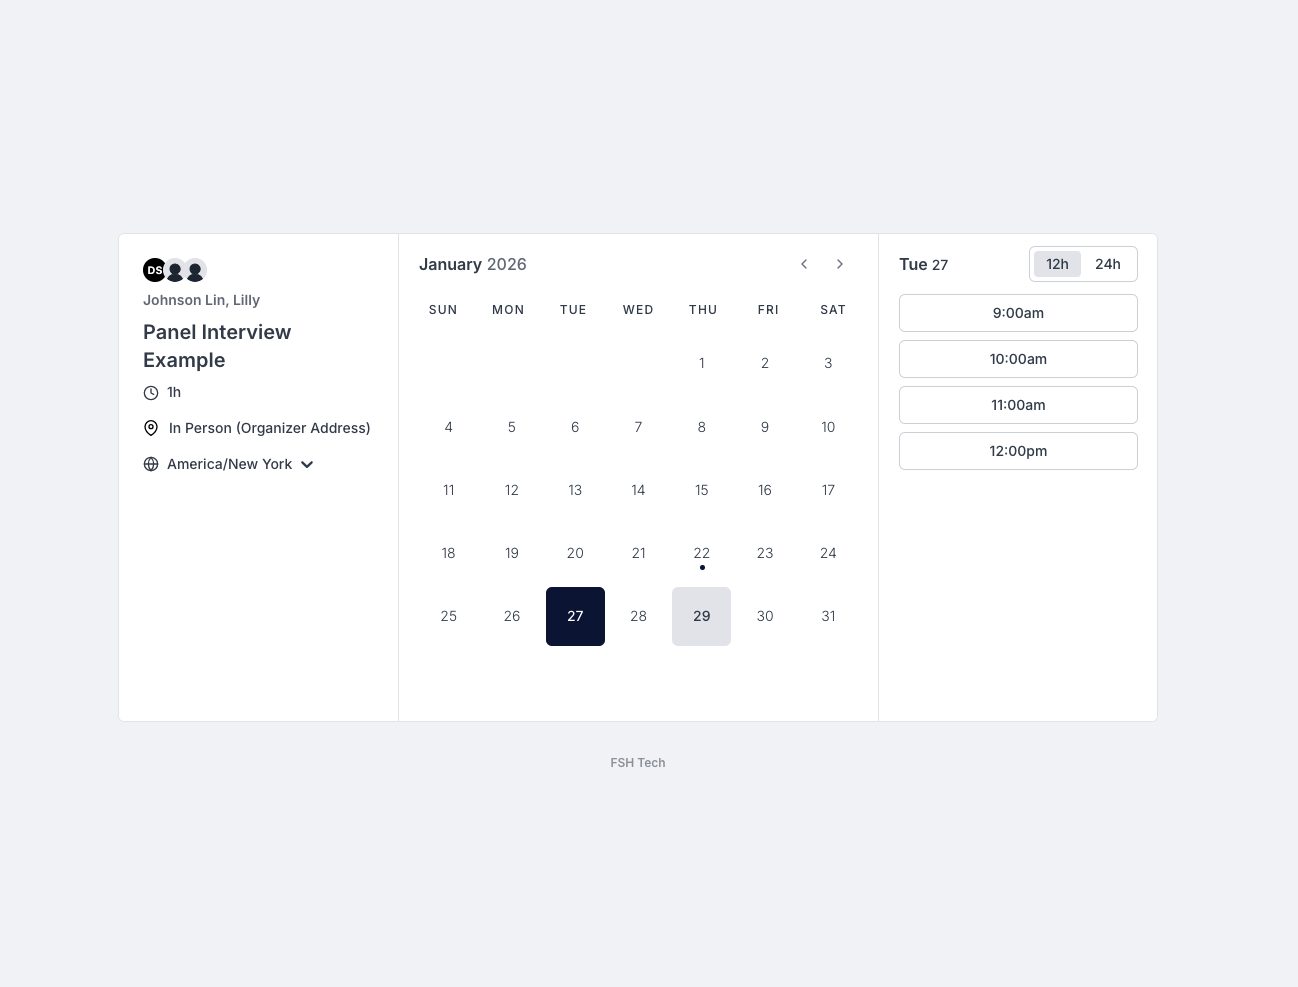
Now, if you preview the link, you should see only the dates and times you selected.
Availability
Availability manages the schedule that candidates can book meetings for. Everyone has a default availability set which is their working hours (8:30am - 4:30pm Monday through Friday) and the application only allows candidates to book during those hours as long as there isn’t an existing meeting on your calendar (to prevent double bookings)
Setting a Team Event Availibility
By default, team events will have the availability of all hosts combined. For example, if the hosts Johnson has an availability of 9am-5pm and Lilly has an availability of 7am-3pm, then candidates can only book between 9am-3pm.
-
To edit the availability for a team event specifically, open up the event type settings and then click on “Availability”.
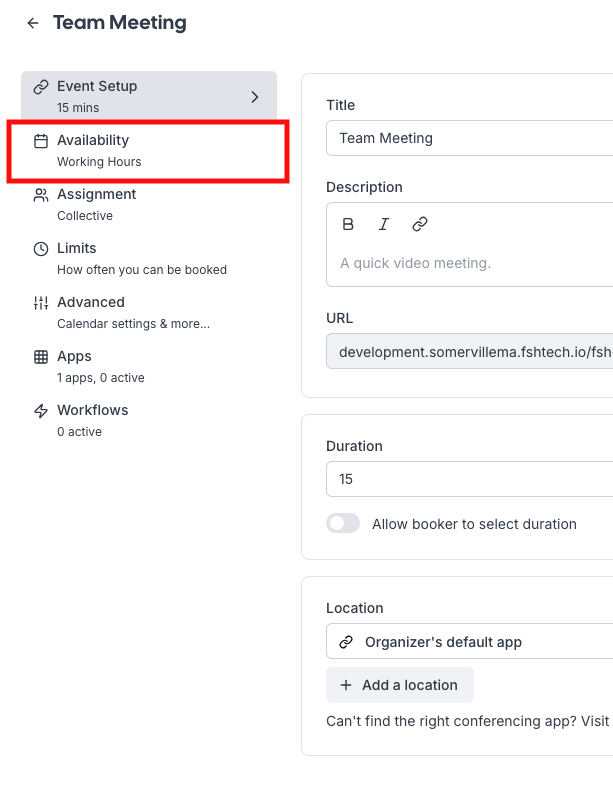
-
Then enable a “common schedule”.
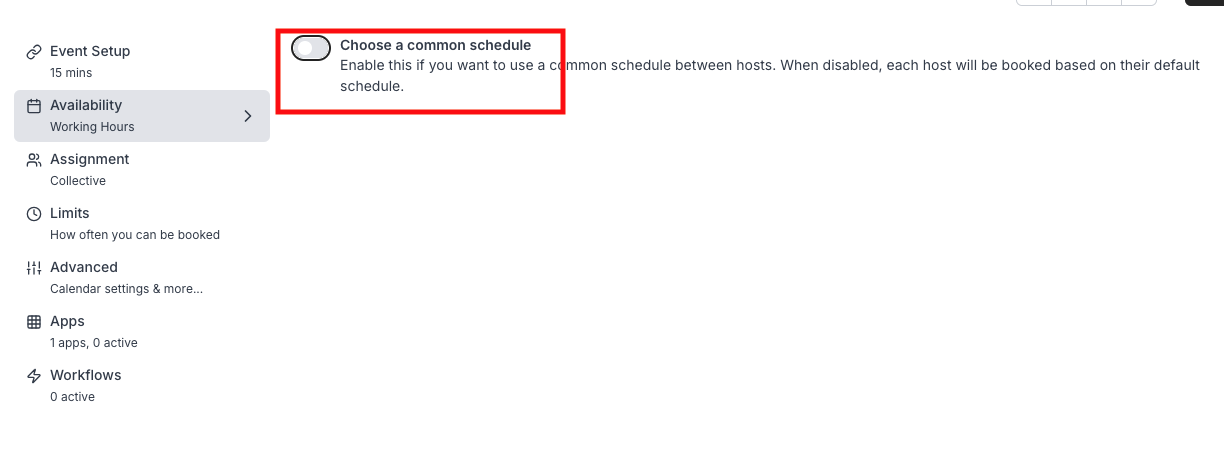
-
You will now see an Availability that this event type will reference to determine time slots you can book.
-
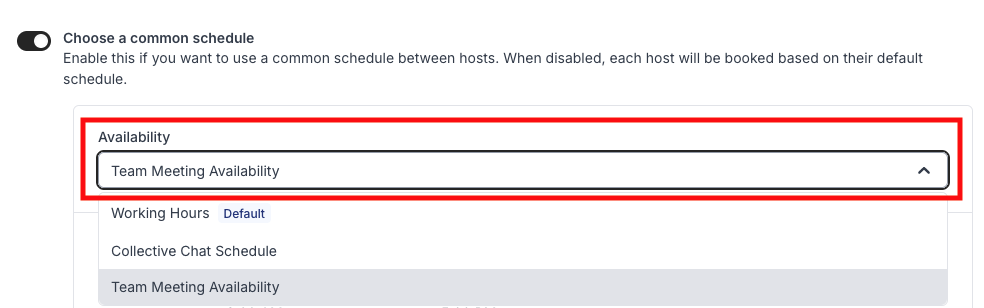
Choose the Availability schedule that you’d like to use. It is recommended to make a new Availability schedule if there is a specific schedule that you’d like to set for this meeting.
Creating a New Availability
-
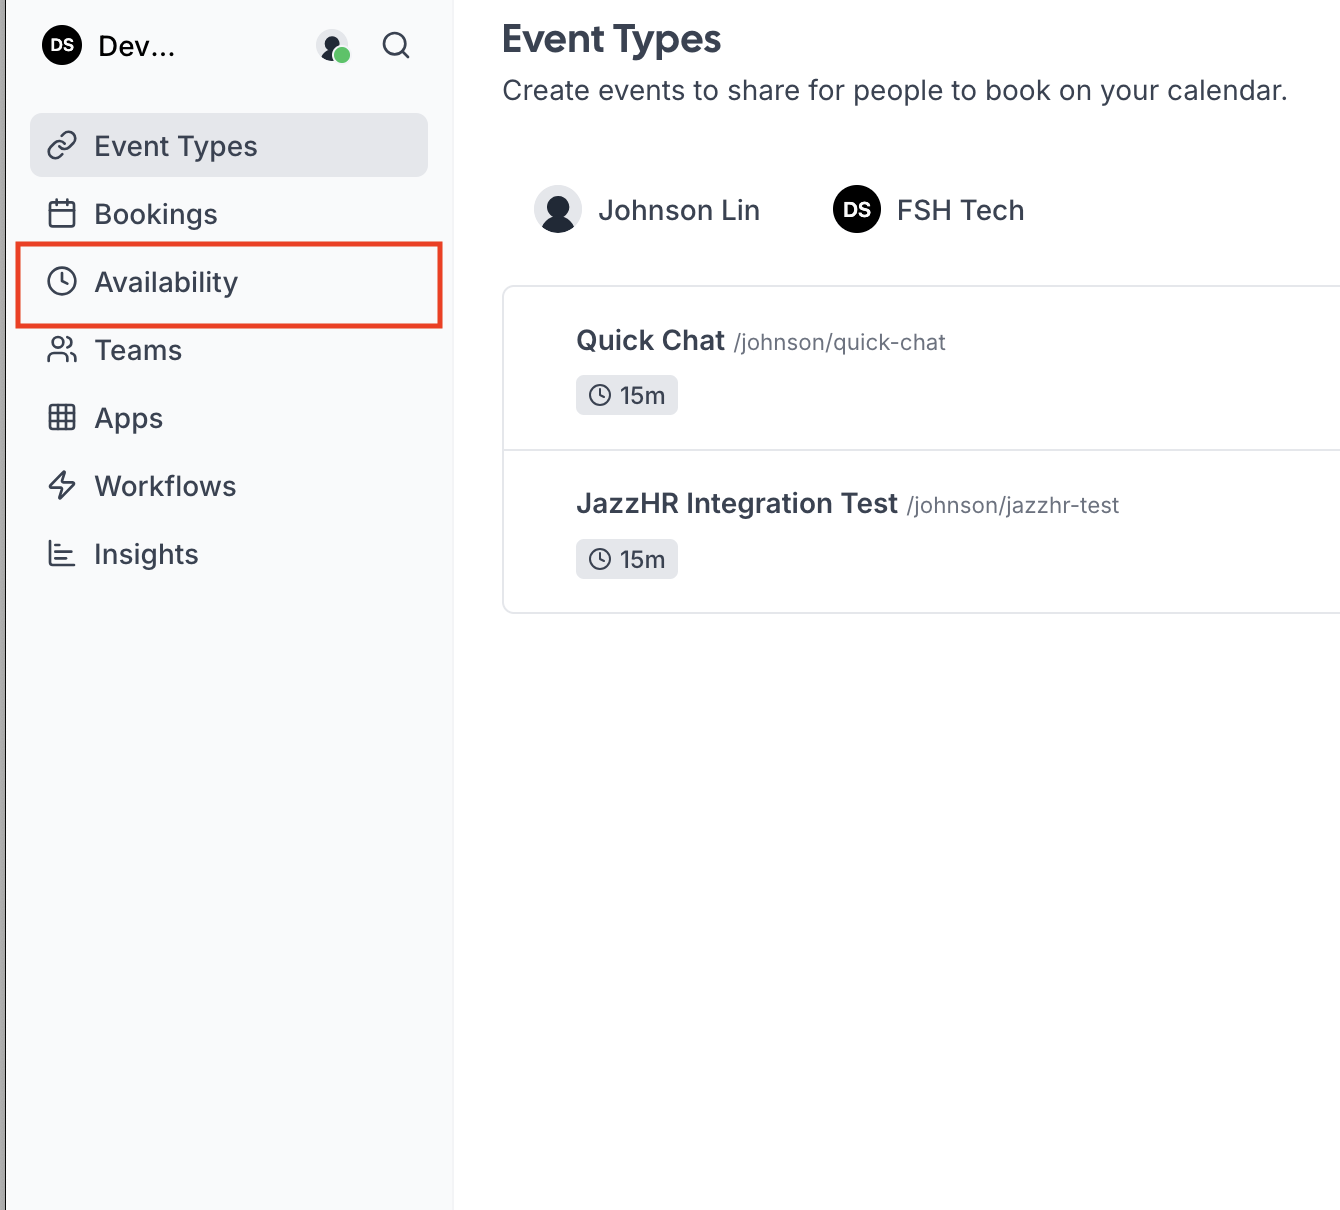
Click on the “Availability” tab located on the left hand side bar.
-
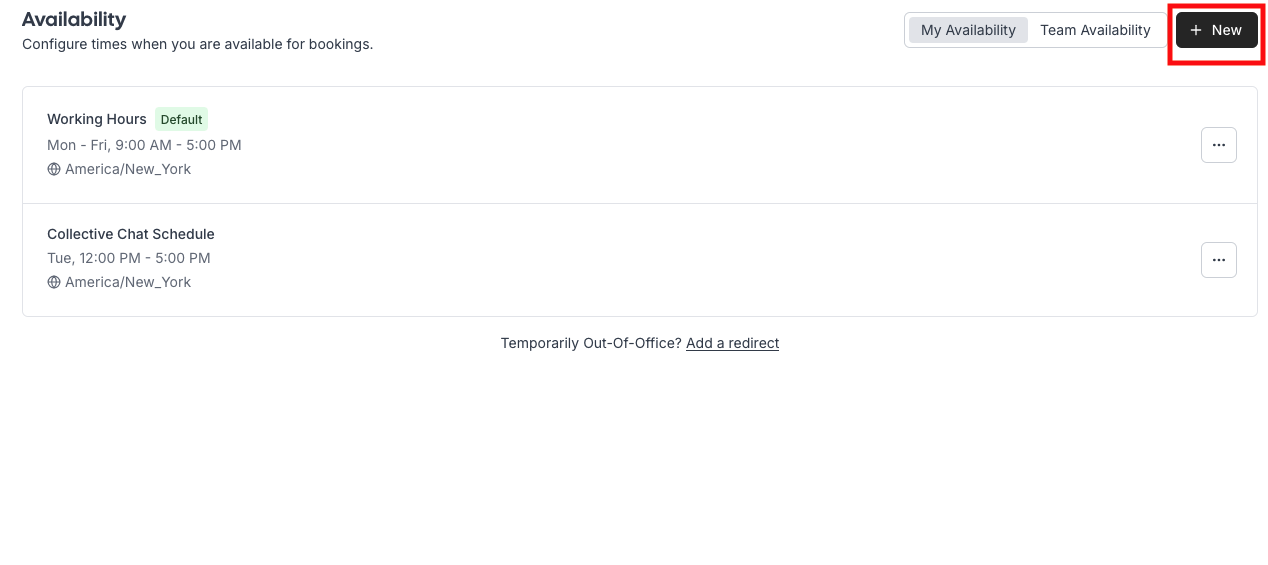
Click on the “New” button in the top right.
-
Set a name for it and then click “Continue”.

-
You now have a new Availability schedule! Make sure you select it in the Team Event if this is meant for a specific event type. (See section above)
Editing an Availability
-
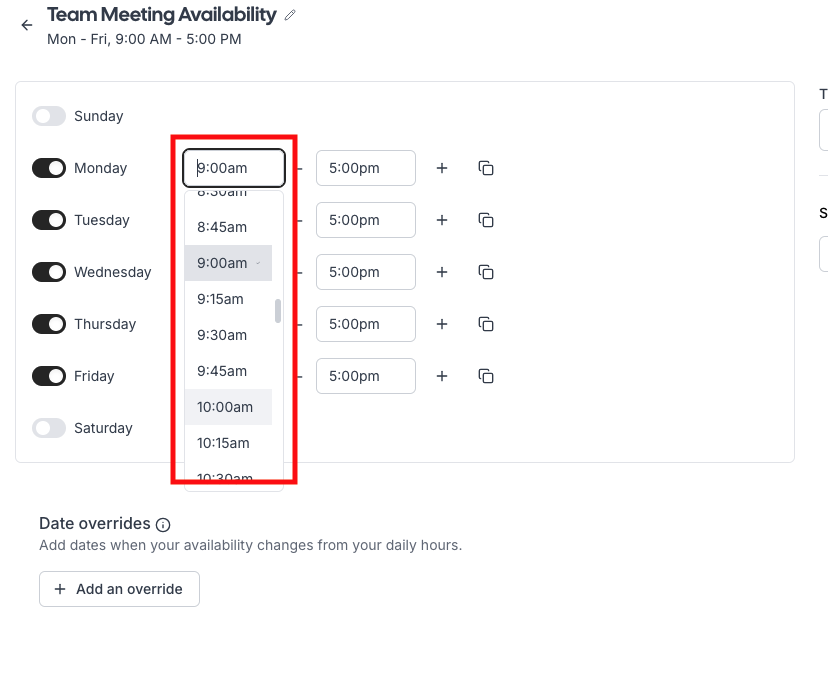
When you are in an “Availability”, you can change the times for specific days. For example, we don’t want to do interviews first thing Monday at 9am, so we can set the hour to be 10am.
-
Make sure you click “Save” in the top right, after any changes you make.

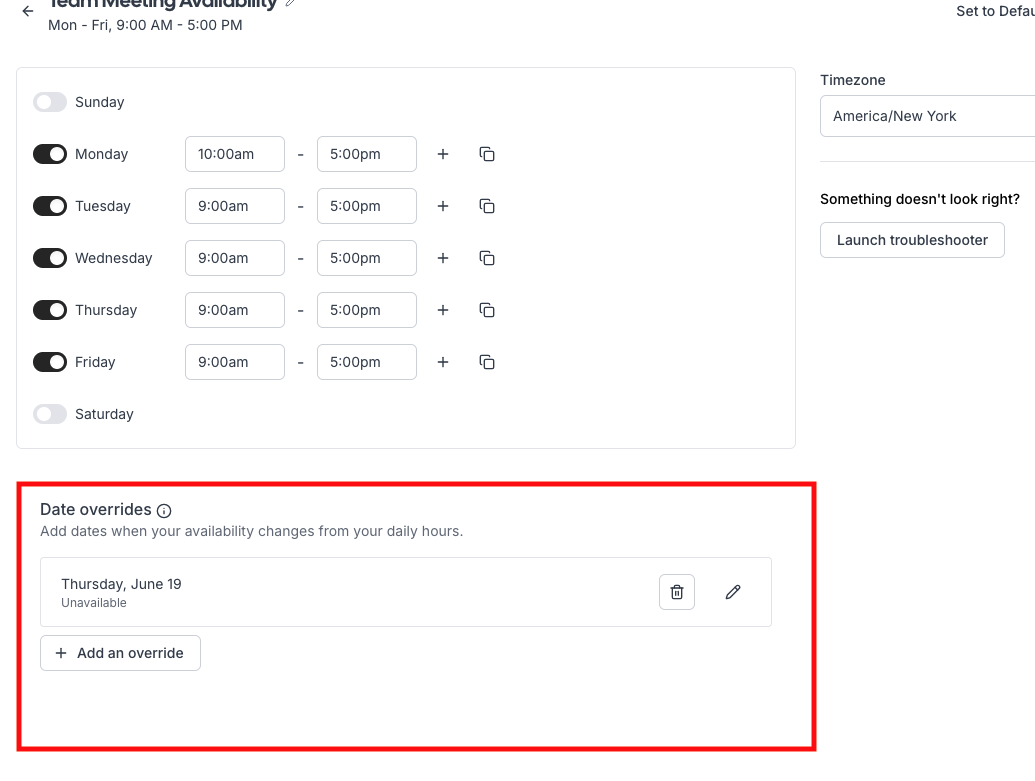
Setting a Date Override
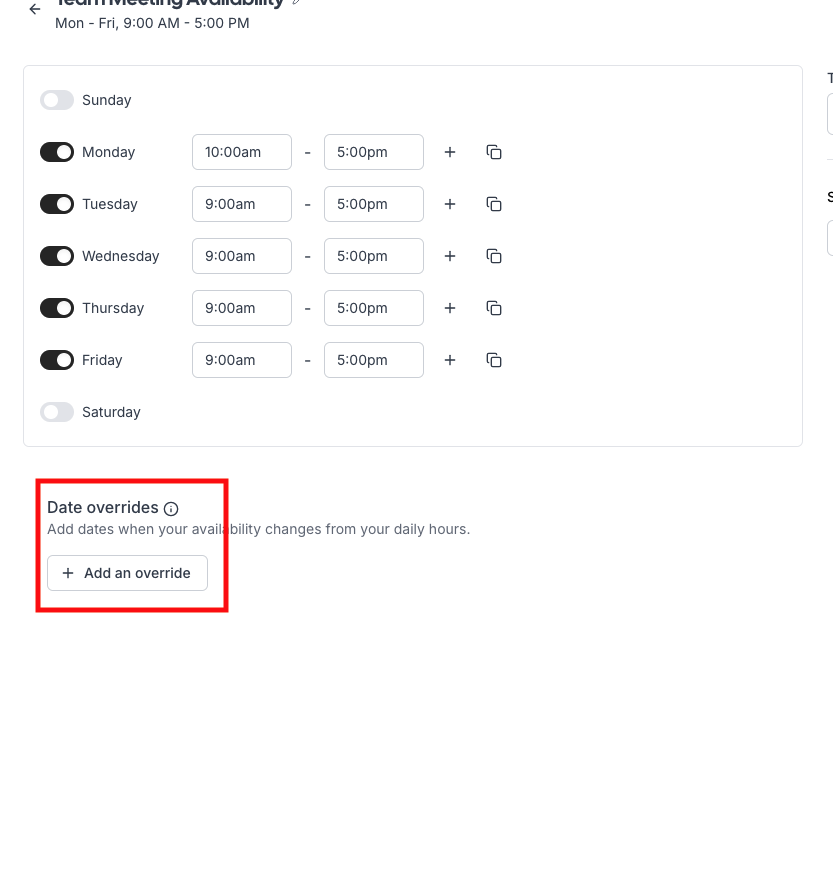
Date overrides are to set specific availability changes for a date. For example, you are out of office or taking a half day, and want to mark specifically on this day that there will be no available time slots during that time.
-
Click on “Add an override” button on the bottom of “Date overrides”.
-
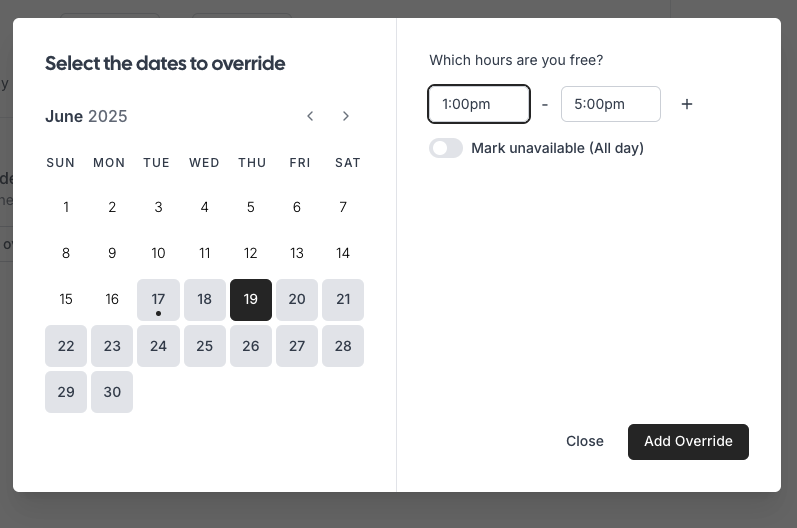
Click on the date that you want to mark an override for.
-
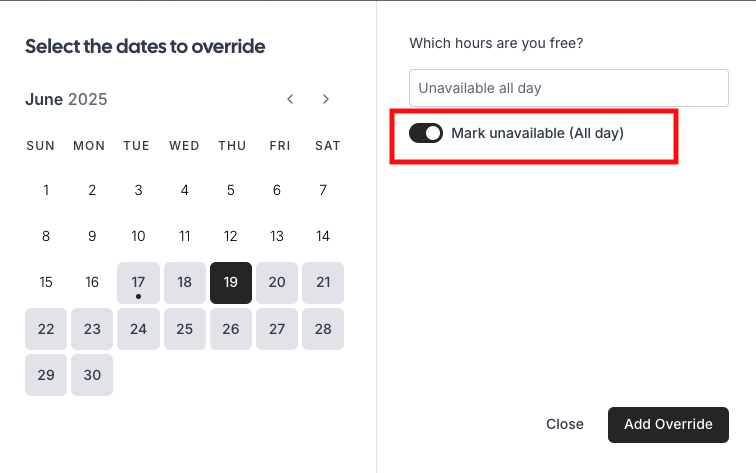
You can set the specific hours you want to allow meetings for, or you can mark the whole day as unavailable with the “Mark unavailable” slider.
-
You will see the date override you added in the bottom half.
-
Make sure to click “Save” in the top right.
JazzHR Integration
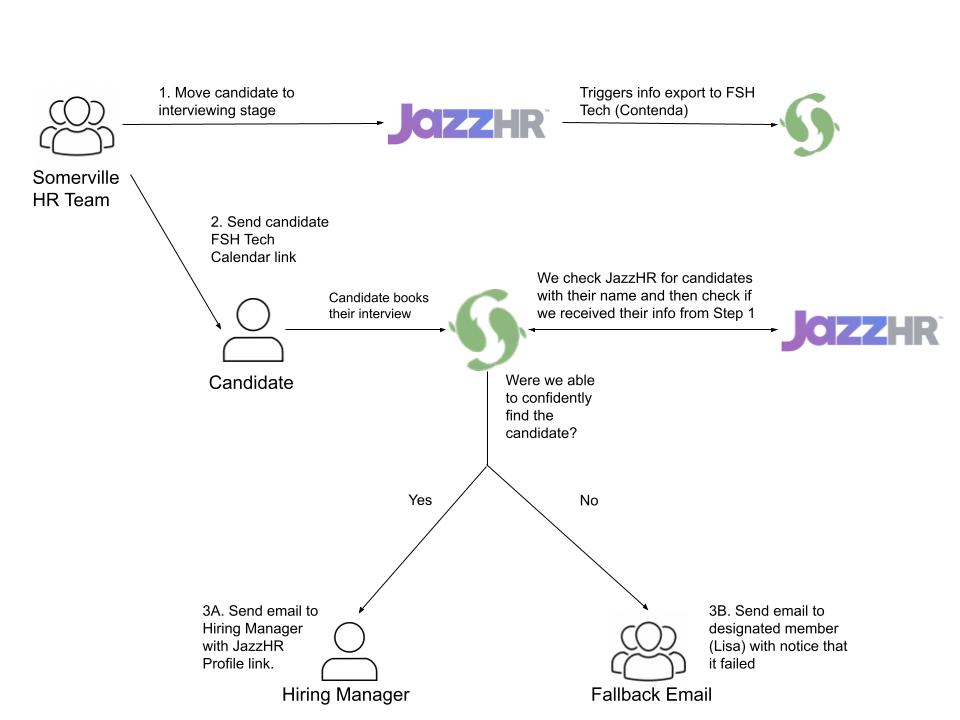
This is a custom built integration with JazzHR, meant to automate sending hiring managers a link to the candidate’s profile in JazzHR so they can view interview questions and resume. Here’s a breakdown of how the integration works:
-
Move a candidate to an interviewing stage in JazzHR. JazzHR will prompt you to send the information to Contenda (Known as the Candidate Export Integration in JazzHR). Click “Yes”.
-
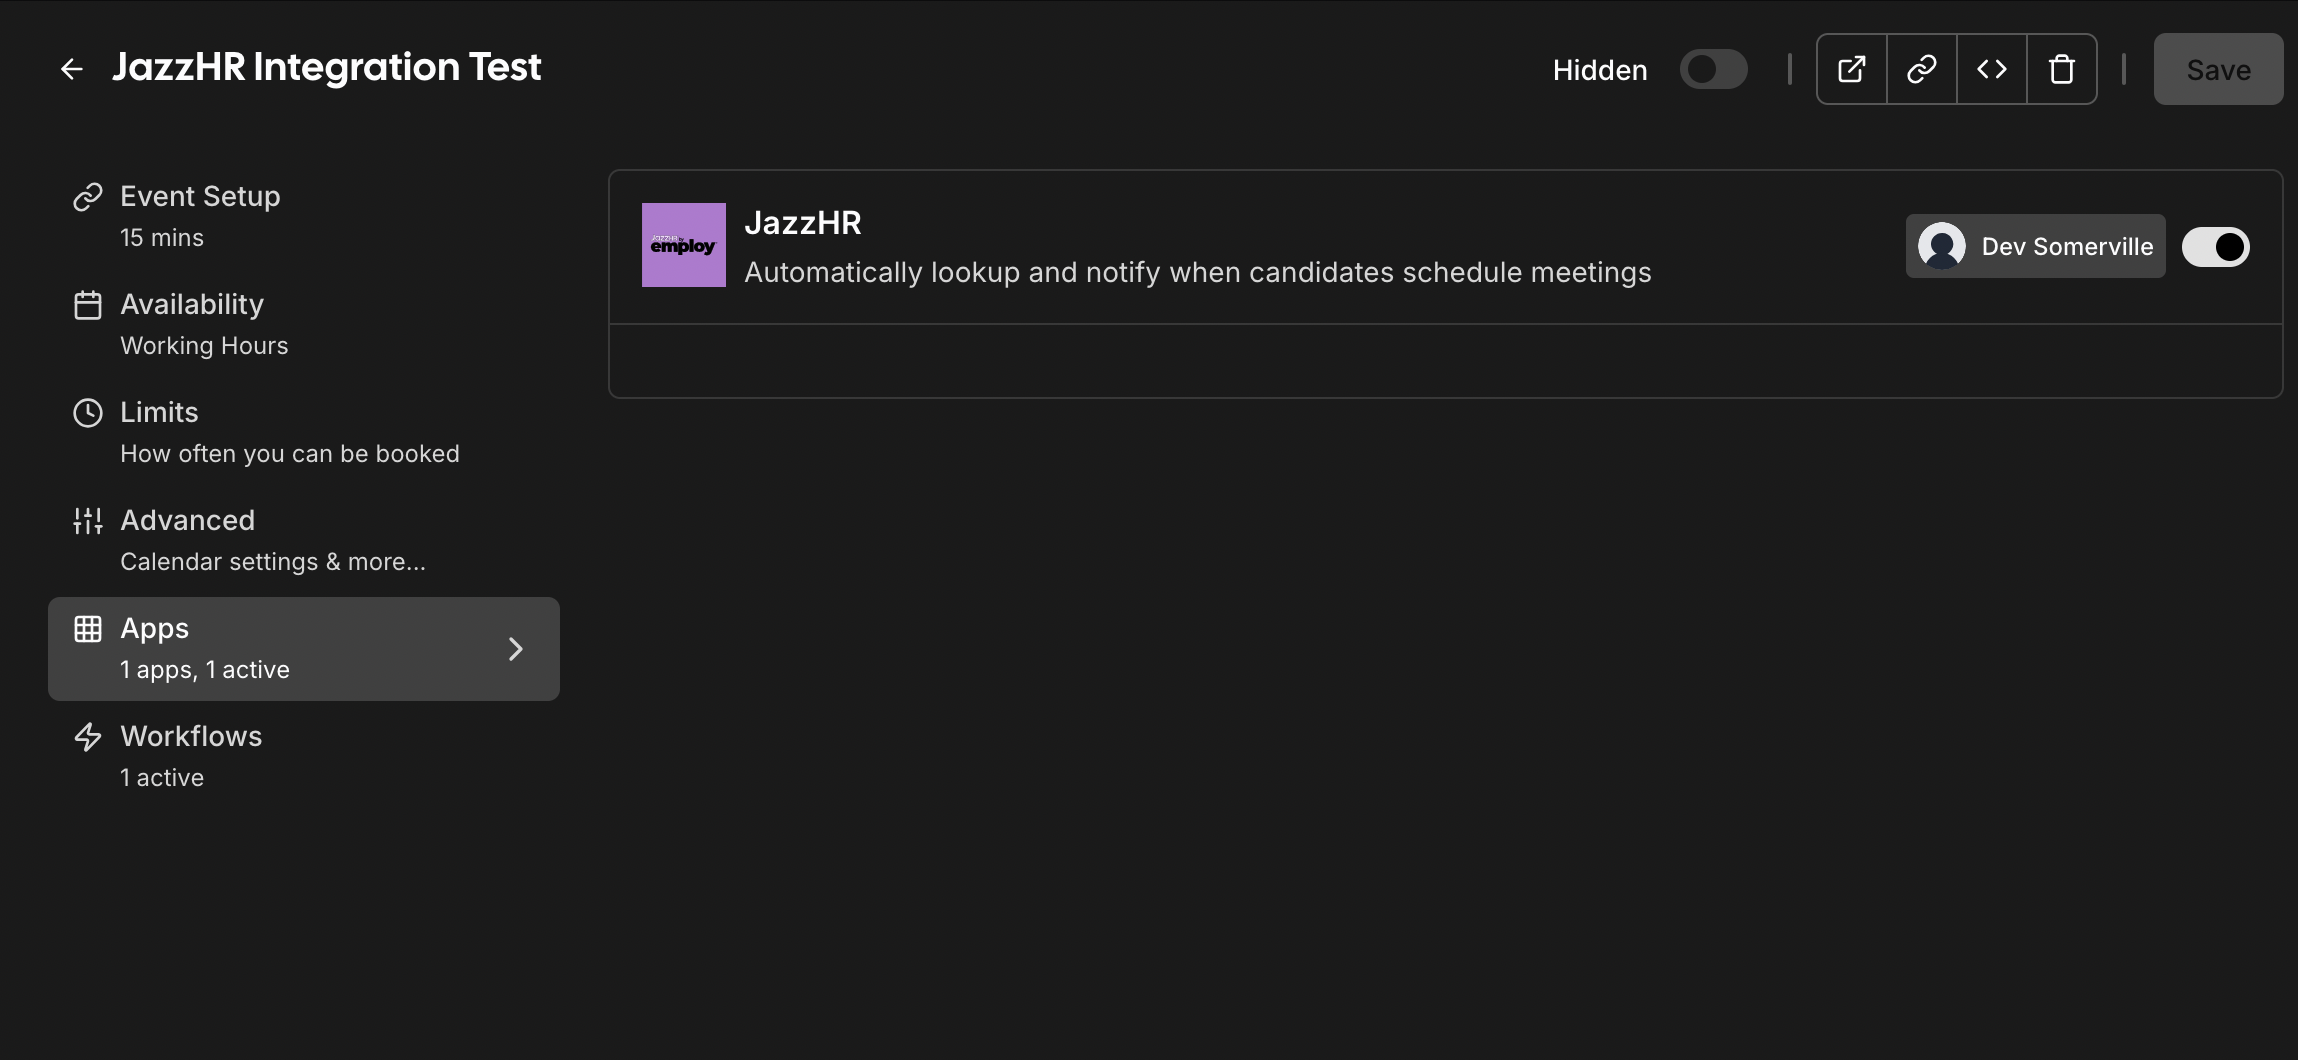
Send the candidate a link to the event type, and make sure that the “JazzHR Integration” is enabled under “Apps”.
-
IMPORTANT: Inform the candidate to sign up with the same name that they used to apply to the position.
-
When the candidate selects a time that works for them, the JazzHR integration will trigger. (Note: When testing, wait at least 3 minutes before booking a meeting as there is a slight delay from JazzHR’s Candidate Export)
-
We’ll look for the candidate through the JazzHR API based on their name and if we’ve received the Candidate Export from JazzHR:
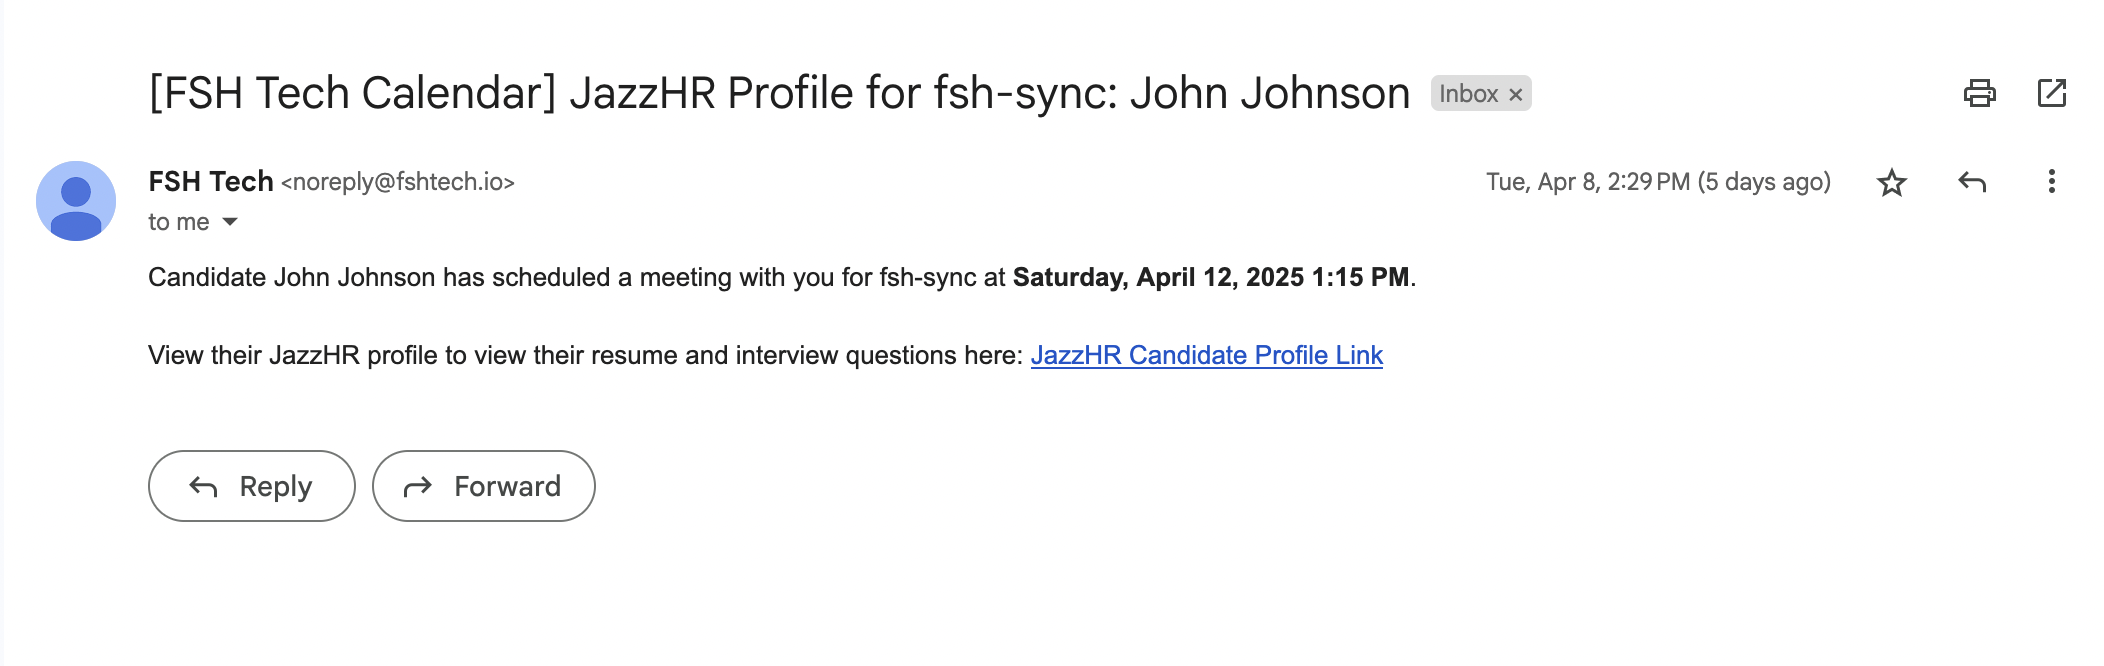
- If we are able to successfully match the candidate, we will schedule an email to the host of the event type with a link to the JazzHR Profile.
- If we were unable to find the candidate, we will send an email to a designated fallback email immediately notifying that we were unable to find the candidate and that they should email the hosts manually with details on the event and potential matches. Potential failure reasons include too many potential matches and no candidate found at all.

- If we are able to successfully match the candidate, we will schedule an email to the host of the event type with a link to the JazzHR Profile.
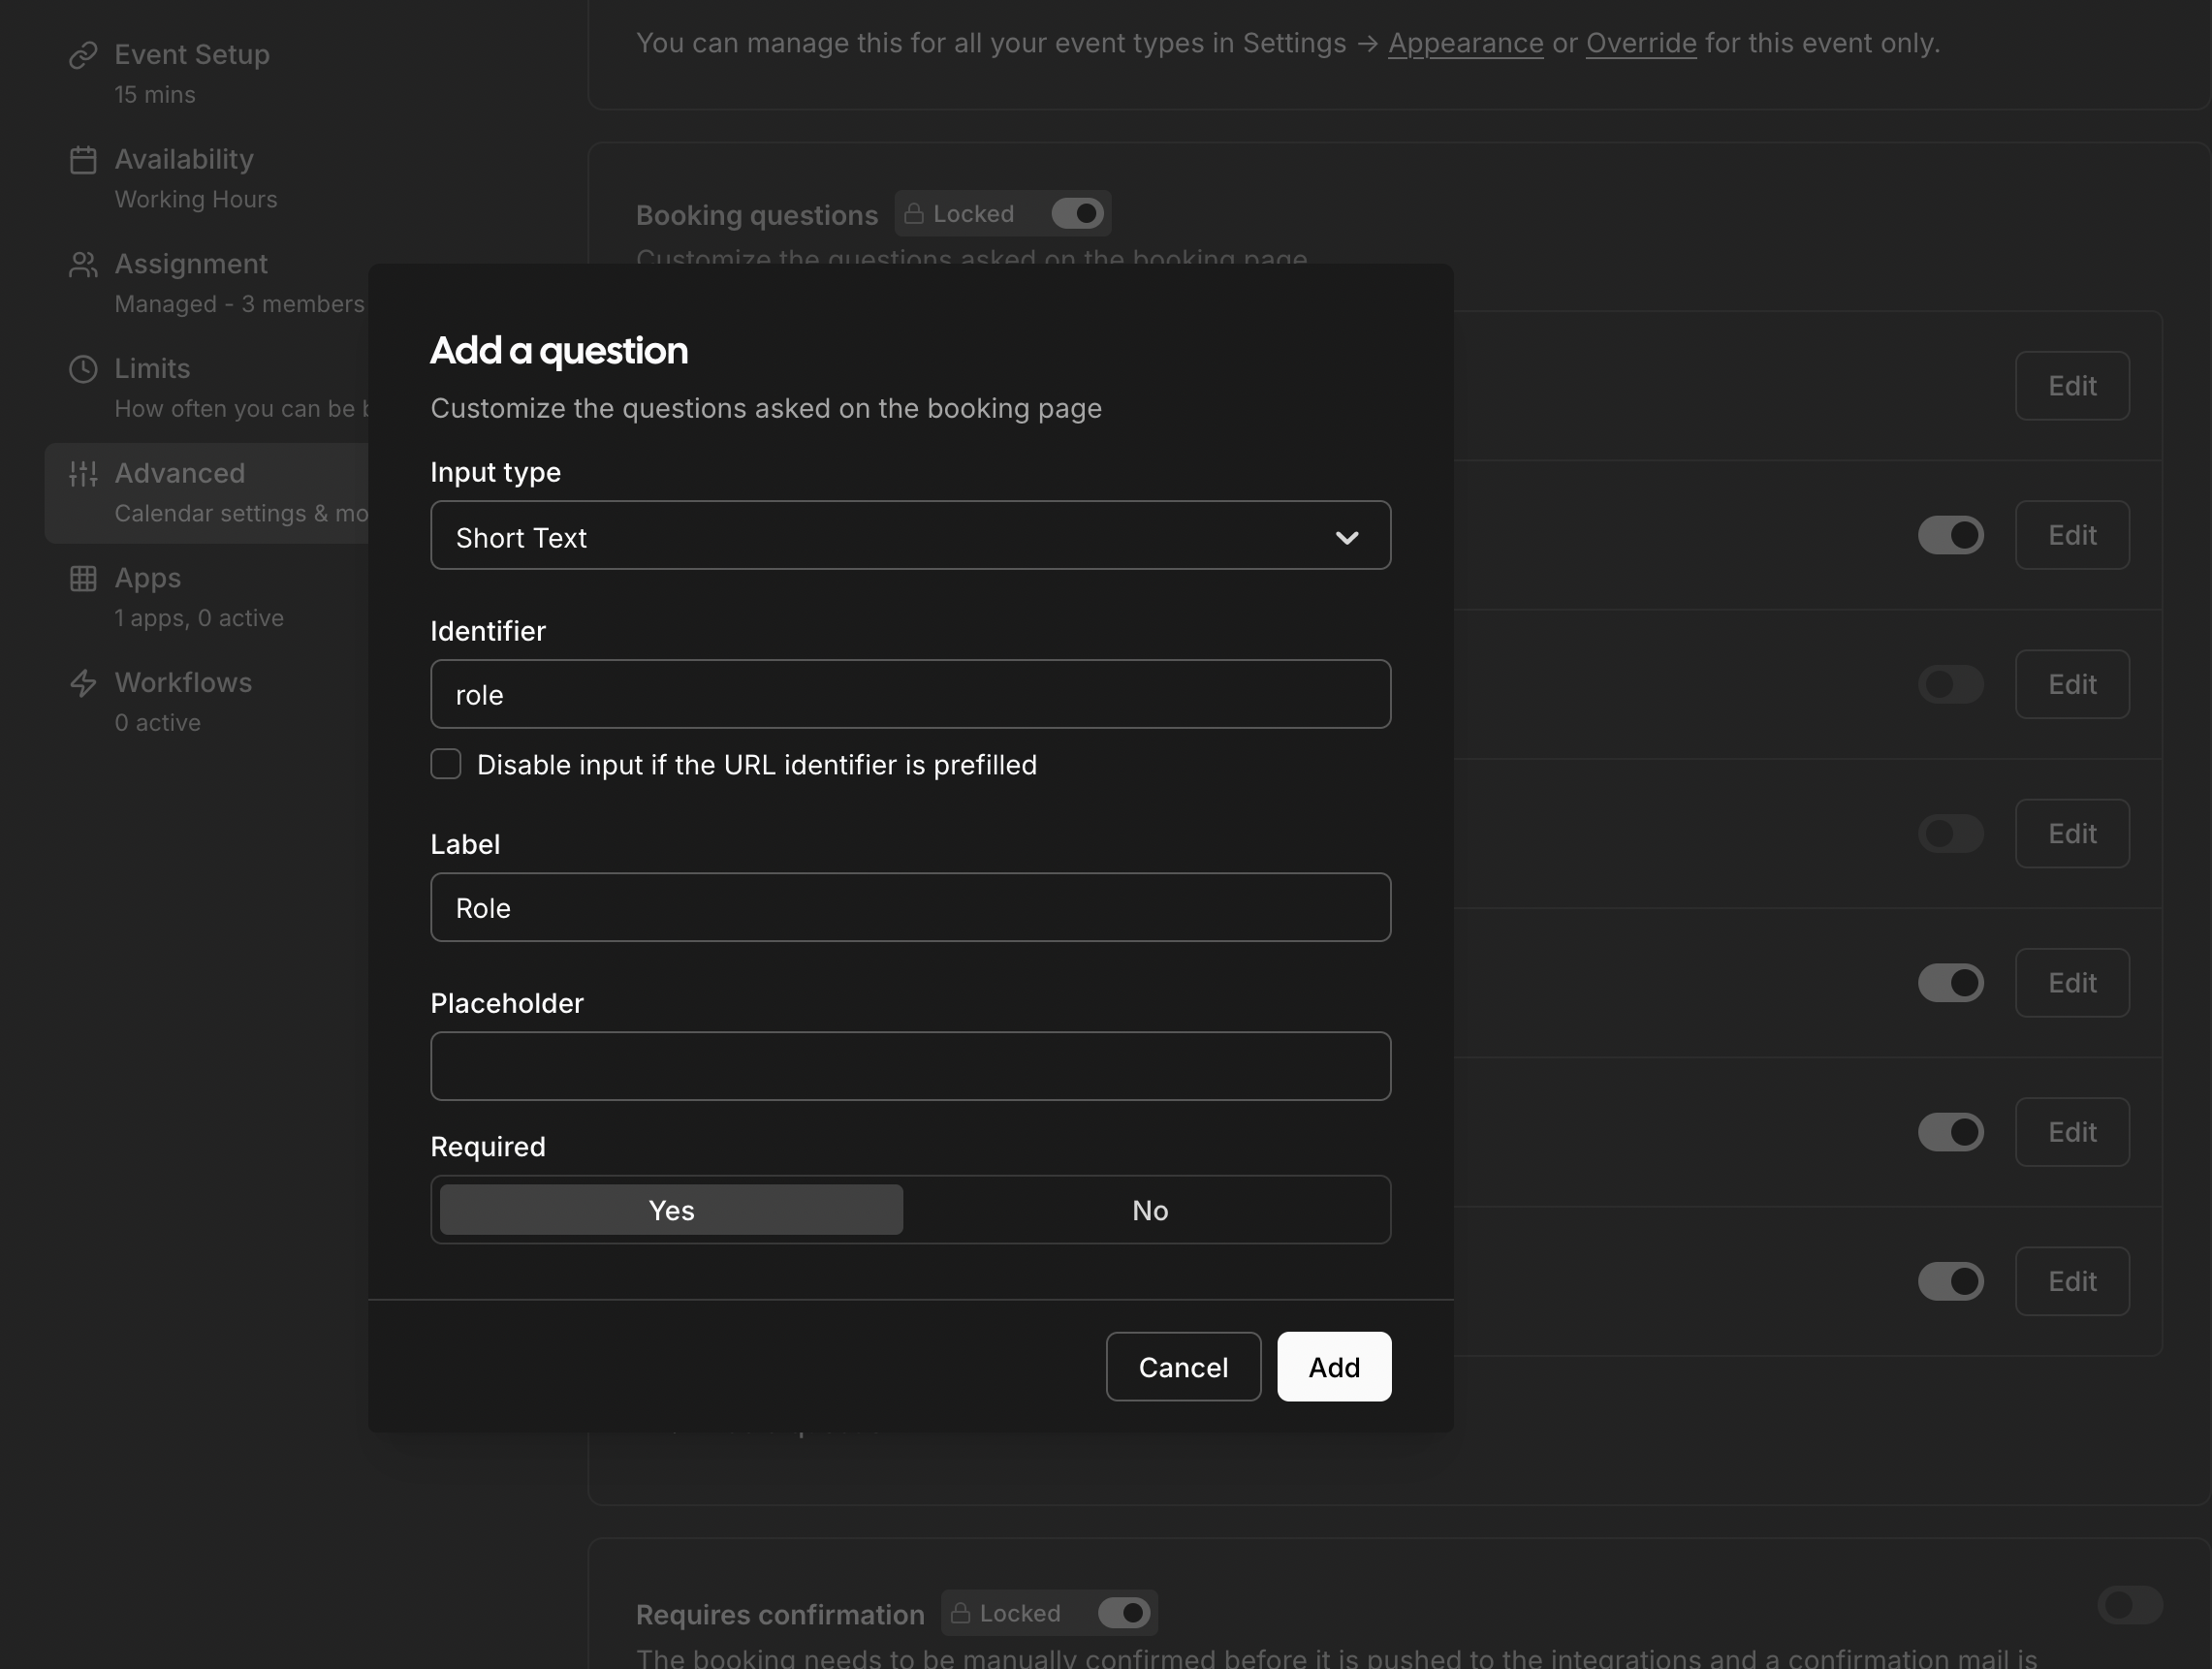
NOTE: If you include a custom field of “role”, we will use that as an additional identifier to see if we’ve matched the right candidate in JazzHR. To add this, go to the event type settings, click on “Advanced”, and add a question with Identifier set as “role”.
Here is a technical diagram on the full flow:
Currently Configured Settings
- Success email schedule: Sent 24 hours before the meeting
- Fallback email: Lisa Harless (lharless@somervillema.gov)
- Email template: Default basic email
If these settings need to be changed at any point, please notify Johnson (johnson@fshtech.io).
Video Tutorials
Below are some videos we recorded to help you set up your account.